Most households throw away a surprising amount of food every week — peels, cores, coffee grounds, wilted greens — and nearly all of it ends up in a landfill. According to the EPA’s most recent materials-flow data, roughly 60% of the food discarded in the United States is landfilled, compared to under 5% that gets composted. That’s not just a missed opportunity for the garden; landfilled food waste breaks down without oxygen and generates methane, a greenhouse gas far more potent than carbon dioxide over the short term.
Composting fixes both problems at once. It diverts food and yard waste from the landfill, and it turns that “waste” into a free, nutrient-dense soil amendment that improves nearly every gardening problem covered elsewhere on this site — from poor soil structure to the water retention issues that make a climate-resilient garden harder to maintain. This guide walks through exactly how to start composting at home — no prior experience, farm, or large yard required.
How Composting Actually Works
Composting is controlled decomposition. Bacteria, fungi, and other microorganisms break down organic material, and given the right mix of carbon, nitrogen, moisture, and oxygen, they do it fast enough to generate real heat — a well-built backyard pile can reach 130–160°F at its core, hot enough to kill most weed seeds and pathogens along the way.
Everything a composter does — layering materials, turning the pile, adjusting moisture — is really just managing four inputs so the microorganisms doing the actual work have what they need:
- Carbon (“browns”): dry, structural material that feeds microbes energy and keeps the pile from compacting.
- Nitrogen (“greens”): fresh, moist material that supplies protein for microbial growth.
- Water: needed for microbial activity, but excess water pushes out oxygen.
- Oxygen: required for aerobic decomposition — the fast, low-odor process this guide focuses on.
Get the ratio of browns to greens wrong, or let the pile go airless and soggy, and decomposition slows dramatically or starts to smell. Nearly every composting problem traces back to one of these four inputs being out of balance — which is why the next section matters more than any other step in this guide.
Browns vs. Greens: Getting the Ratio Right
The EPA’s home composting guidance recommends adding roughly two to three times as much brown material by volume as green material, and covering exposed food scraps with 4–8 inches of browns each time you add to the pile. That single habit — always burying fresh scraps under dry material — prevents most of the odor and pest problems new composters run into.
| Browns (Carbon-Rich) | Greens (Nitrogen-Rich) |
|---|---|
| Dry leaves | Fruit and vegetable scraps |
| Plant stalks and twigs | Fresh grass clippings |
| Shredded paper (non-glossy) and brown paper bags | Coffee grounds and paper filters |
| Shredded cardboard (no tape, wax, or glue) | Paper tea bags (no staples) |
| Untreated wood chips or sawdust | Crushed eggshells |
If you only remember one rule from this section, make it this: every time you add wet kitchen scraps, add roughly two to three times as much dry brown material on top. It’s the single biggest lever for a pile that heats up properly and never smells bad.
What You Can (and Can’t) Compost
Most fruit, vegetable, and yard waste is fair game. A few categories are worth keeping out of a backyard pile specifically — not because they’re not organic, but because home compost piles don’t reliably reach the sustained high temperatures needed to break them down safely or without attracting pests.
Safe to Compost
- Fruit and vegetable scraps, peels, and cores
- Coffee grounds and paper filters, tea bags (remove staples)
- Crushed eggshells
- Grass clippings and dry leaves
- Plant trimmings, twigs, and untreated wood chips
- Shredded plain cardboard and non-glossy paper
- Herbivore manure (rabbit, chicken, horse, cow)
Keep Out of a Backyard Pile
- Meat, fish, bones, and dairy (backyard piles rarely get hot enough to break these down before they rot and attract pests)
- Fats, oils, and greasy or heavily sauced food
- Pet waste and cat litter (can carry pathogens that survive home composting)
- Diseased or pest-infested plants, and weeds that have already gone to seed
- Herbicide- or pesticide-treated plant material and treated or painted wood
- Glossy or coated paper, and produce stickers
- Dryer lint (often contains synthetic fibers)
If you specifically want to compost meat, dairy, or pet waste, that’s what municipal or commercial composting programs and specialized systems like bokashi fermentation are for — they’re built to handle materials a backyard pile isn’t equipped for.
Choosing a Composting Method for Your Space
There’s no single “correct” composting setup — the right method depends mostly on how much space and yard access you have.
Open Pile or Bin (Best for Larger Yards)
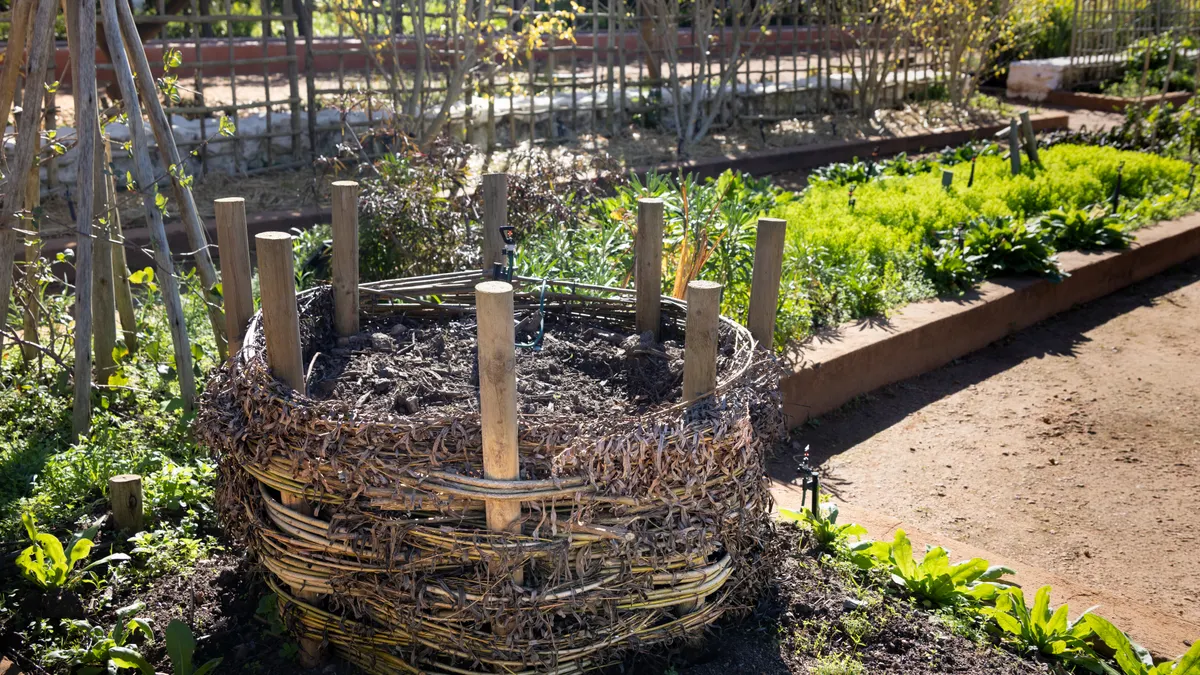
A simple contained pile — built from wood, wire mesh, or even stacked cinder blocks — is the lowest-cost option and works well for anyone generating a steady volume of yard waste alongside kitchen scraps. Aim for a minimum size of about 3 feet by 3 feet; smaller piles struggle to retain enough heat to decompose efficiently.
Enclosed Bins and Tumblers (Best for Small Yards and Neater Setups)
A closed bin or rotating tumbler keeps compost contained, deters rodents better than an open pile, and — in the case of tumblers — makes turning the pile far less physical work than using a garden fork. The tradeoff is capacity: most bins and tumblers hold less material than an open pile, so they suit smaller households and smaller yards better than large-scale yard waste composting.
Vermicomposting (Best for Apartments and Limited Outdoor Space)
Vermicomposting uses red wiggler worms in a ventilated indoor or outdoor bin to process food scraps into castings — a compost so nutrient-rich it’s often used sparingly, mixed into potting soil rather than applied at full volume. It’s odor-light when properly maintained, doesn’t require outdoor space, and is usually ready to harvest in three to six months, without the curing period a traditional pile needs.
Building and Maintaining Your Pile, Step by Step
- Pick a spot. Choose a level, well-draining area with partial shade and easy access to a water source and your kitchen.
- Start with a coarse base. A few inches of twigs or coarse browns at the bottom improve airflow and drainage.
- Layer browns and greens. Alternate layers, keeping browns at roughly two to three times the volume of greens, and always cover fresh scraps with a layer of browns.
- Keep it damp, not wet. The pile should feel like a wrung-out sponge — moist to the touch but never dripping. Add water during dry spells; add dry browns if it’s soggy.
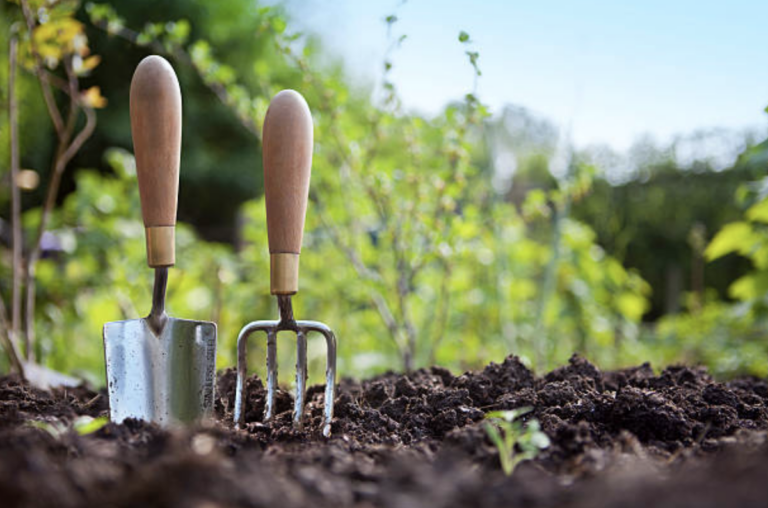
- Turn it regularly. Use a garden fork (or spin a tumbler) every one to two weeks to reintroduce oxygen, redistribute moisture, and speed decomposition.
- Chop larger scraps. Cutting food waste into 1–2 inch pieces before adding it dramatically speeds up how fast it breaks down.
That’s the entire process. There’s no special equipment required beyond a fork and a way to contain the pile — everything else is just keeping the four inputs (carbon, nitrogen, water, oxygen) in balance.
Troubleshooting: Fixing Common Compost Problems
Nearly every home composting complaint falls into one of three categories, and each one has a specific, well-documented fix, per Cornell Cooperative Extension’s composting troubleshooting guidance:
| Problem | Likely Cause | Fix |
|---|---|---|
| Rotten egg or ammonia smell | Too wet, too compacted, or too many greens (poor airflow) | Turn the pile and mix in more dry browns |
| Nothing is decomposing | Pile too small, too dry, or too carbon-heavy | Moisten it, add more greens, and turn it to add air |
| Fruit flies | Exposed food scraps | Bury scraps under browns; freeze scraps before adding if flies persist |
| Rodents or raccoons | Meat, dairy, or fat in the pile | Remove animal products immediately; switch to a rodent-resistant enclosed bin |
| Large chunks not breaking down | Materials added whole or in large pieces | Chop scraps smaller and shred matted leaves before adding |
Worms, slugs, and earwigs showing up in the pile are normal and not a sign anything is wrong — they’re part of the decomposition process, not a pest problem to solve.
How Long Until It’s Ready?
A well-maintained backyard pile — properly balanced, turned regularly, and kept appropriately moist — typically finishes in three to five months. A neglected pile that’s rarely turned can take closer to a year. Vermicompost is usually ready in three to six months and, unlike traditional compost, doesn’t need a separate curing period.
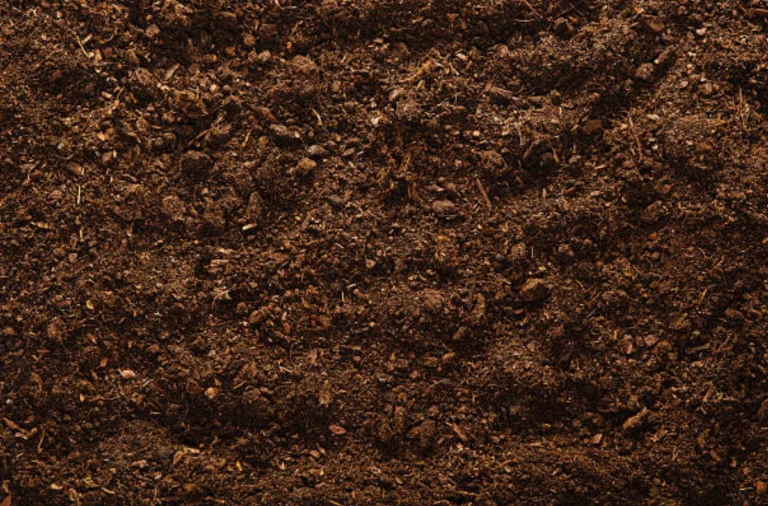
Finished compost looks, feels, and smells like dark, crumbly soil — earthy, not sour or ammonia-like — and you shouldn’t be able to recognize the original food scraps or leaves anymore. If you can still identify eggshell pieces, twigs, or fruit peels, it needs more time.
Composting Through Fall and Winter
Composting doesn’t have to stop when temperatures drop — it just slows down, since microbial activity is temperature-dependent. Insulating the pile with a thick layer of dry leaves (which you likely have in abundance during fall cleanup) helps retain heat, and a larger pile holds warmth better than a small one. Keep adding scraps through winter even if visible breakdown slows to a crawl; everything picks back up once temperatures rise in spring, and building pile volume through the off-season means more finished compost ready for spring planting.
Using Finished Compost in Your Garden
Finished compost is one of the few genuinely universal soil amendments — it improves drainage in heavy clay, improves water retention in sandy soil, and adds slow-release nutrients regardless of what you’re growing. Work 1–3 inches into the top layer of garden beds before planting, or use it as a top-dressing mulch around established plants.
Because compost’s effect depends on your starting soil, it’s worth testing your soil’s pH before and after adding compost — finished compost tends to be close to pH-neutral, so it’s a safe amendment across most conditions, but pairing it with the right soil type for the plants you’re growing gets the best results. Compost is also one of the most effective ways to build the organic-matter-rich soil described in our guide to building a climate-resilient garden — better water retention and root health translate directly into a garden that handles heat and drought stress with less intervention, and that same water retention benefit is exactly why compost pairs so well with the drought-tolerant, native plants used in a water-wise landscape.
Composting’s benefits also extend past any single garden bed. It’s a foundational practice in sustainable agriculture at every scale, from backyard bins to commercial operations rebuilding soil health, and for gardeners looking to turn a hobby into income, a steady compost supply is also a practical starting point for the composting and soil-amendment side businesses covered in our guide to profitable backyard gardening ideas.
Frequently Asked Questions
How long does it take for compost to be ready?
A well-maintained backyard pile typically takes three to five months. Neglected piles can take up to a year, while vermicompost is usually ready in three to six months.
Why does my compost smell bad?
A rotten-egg or ammonia smell almost always means the pile is too wet, too compacted, or has too many nitrogen-rich greens. Turn the pile to add oxygen and mix in more dry, carbon-rich browns.
Can you compost in winter?
Yes. Decomposition slows in cold weather but doesn’t stop. Insulating the pile with extra dry leaves and maintaining a larger pile size helps retain heat through the colder months.
What’s the ideal ratio of browns to greens?
Roughly two to three times as much brown (carbon-rich) material by volume as green (nitrogen-rich) material, with fresh food scraps always covered by a layer of browns.
Is composting worth it in a small yard or apartment?
Yes. A compact tumbler works well for small yards, and vermicomposting with a worm bin is well-suited to apartments or balconies since it needs no outdoor space and produces minimal odor when maintained correctly.
Can I put meat or dairy in my compost pile?
Not in a typical backyard pile. These items rarely break down fully at the temperatures a home pile reaches, and they attract rodents. They’re better suited to municipal composting programs or specialized systems built to handle them.
The Bottom Line
Composting doesn’t require a farm, a large budget, or years of gardening experience — just a reasonably consistent balance of browns, greens, moisture, and airflow, kept in a bin, tumbler, pile, or worm bin sized to fit your space. Get that balance right and most problems solve themselves, while the payoff — free, high-quality soil amendment and less food waste headed to the landfill — compounds every time you add another batch of scraps.