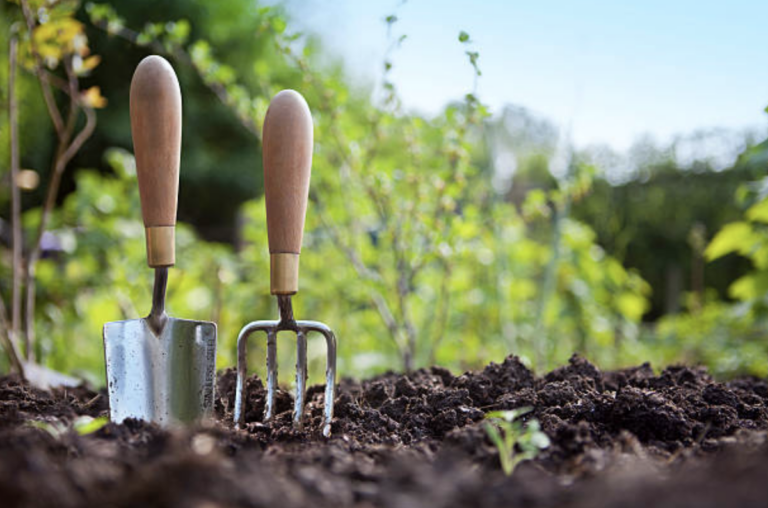
Simple Ways to Check Soil Acidity for Healthier Plants
If your plants aren’t growing as expected, the problem might not be watering or sunlight—it could be your soil’s pH.
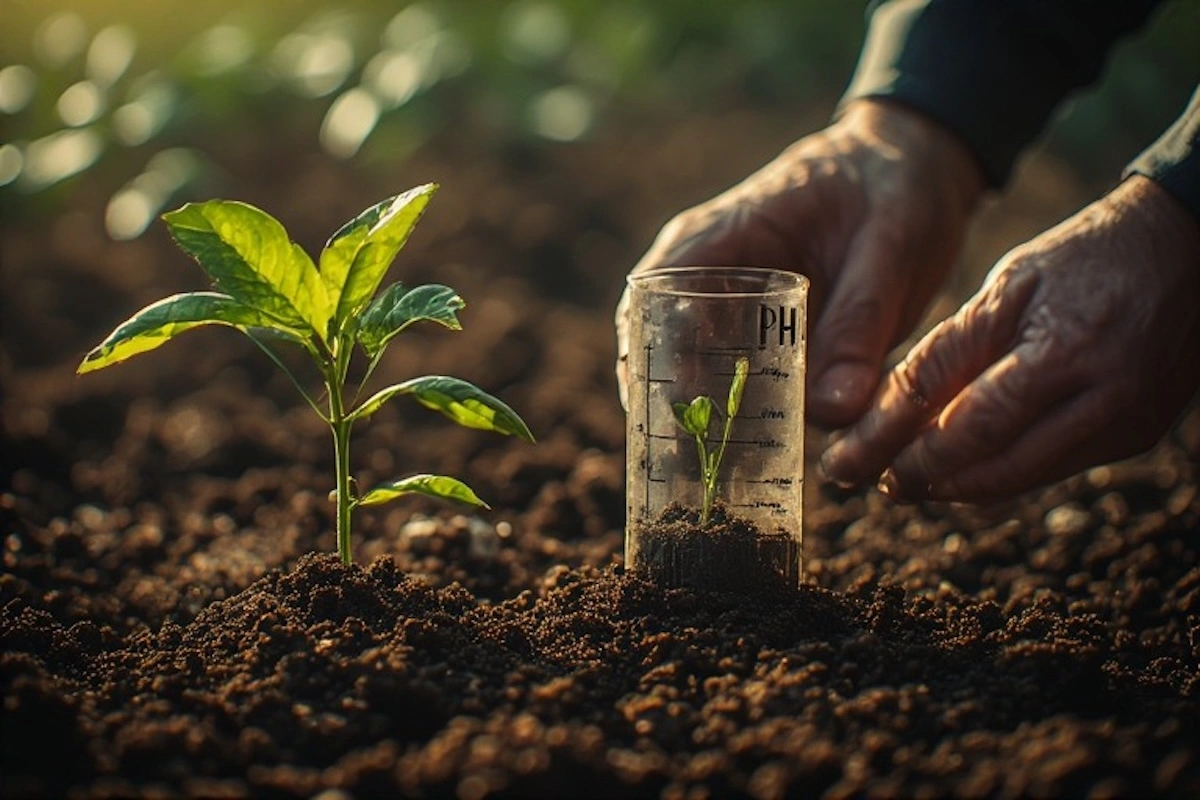
Understanding how to perform a soil pH test at home is one of the most important steps in successful gardening. Soil pH affects how well plants absorb nutrients, and even small imbalances can lead to poor growth, yellowing leaves, or low yields.
The good news? You don’t need expensive equipment or professional training to test your soil. This beginner-friendly guide will show you exactly how to test soil acidity, interpret the results, and take action to improve your soil.
What Is Soil pH and Why It Matters
Soil pH measures how acidic or alkaline your soil is, using a scale from 0 to 14:
- Below 7 = Acidic soil
- 7 = Neutral soil
- Above 7 = Alkaline soil
Most plants grow best in slightly acidic soil, typically between 5.5 and 6.5.
Why Soil pH Is Important
Soil pH directly affects nutrient availability. If the pH is too high or too low:
- Plants can’t absorb essential nutrients
- Growth becomes stunted
- Leaves may turn yellow (chlorosis)
- Crop yields decrease
Even if your soil contains nutrients, the wrong pH can prevent plants from using them effectively.
Signs Your Soil pH May Be Off
Before testing, you might notice warning signs such as:
- Yellowing leaves
- Poor flowering or fruiting
- Slow or uneven growth
- Weak root systems
These symptoms often point to pH imbalance rather than lack of fertilizer.
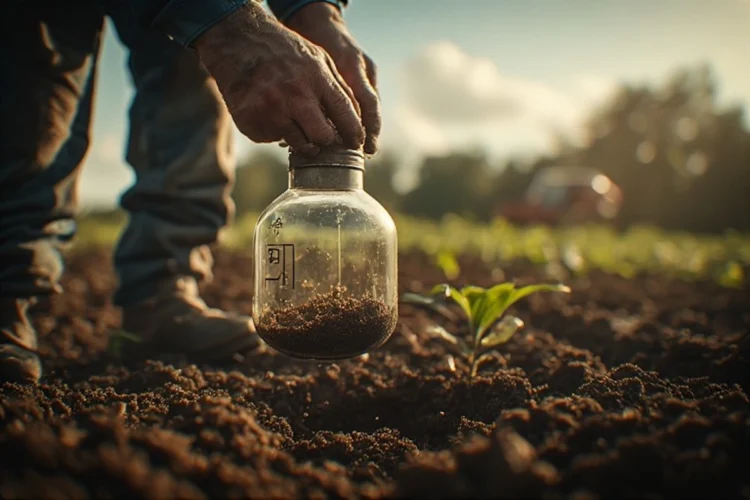
Different Ways to Test Soil pH at Home
There are several ways to perform a soil pH test, ranging from simple DIY methods to more accurate digital tools.
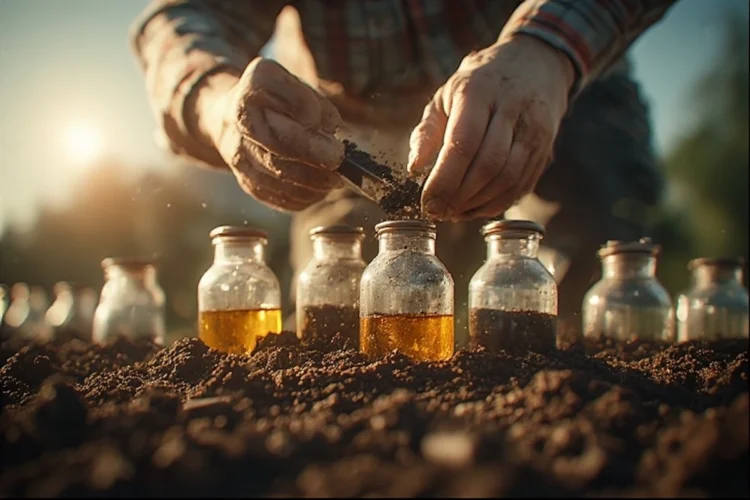
1. DIY Soil pH Test (Using Household Items)
This is the easiest way to get a rough idea of your soil’s pH.
What You’ll Need:
- Soil sample
- White vinegar
- Baking soda
- Two containers
How It Works:
Step 1: Test for Alkalinity
- Place soil in a container
- Add vinegar
👉 If it fizzes → Soil is alkaline
Step 2: Test for Acidity
- Mix soil with water in another container
- Add baking soda
👉 If it fizzes → Soil is acidic
Limitations:
- Not precise
- Only gives general results
- Best for quick checks
2. Soil pH Test Kits (Affordable & Accurate)
Test kits are widely available and offer better accuracy than DIY methods.
What’s Included:
- Test solution or strips
- Color chart
- Instructions
How to Use:
- Collect a soil sample
- Mix with test solution
- Compare color with chart
Advantages:
- Affordable
- Easy to use
- More reliable than DIY
3. Digital Soil pH Meters (Best for Accuracy)
Digital meters provide fast and precise readings.
How They Work:
- Insert probe into soil
- Device measures pH electronically
Benefits:
- Instant results
- High accuracy
- Reusable
Ideal For:
- Serious gardeners
- Frequent testing
- Large gardens
4. Professional Soil Testing (Optional)
For the most detailed results, you can send soil samples to a lab.
What You Get:
- Exact pH level
- Nutrient breakdown
- Soil recommendations
This is ideal for large-scale gardening or farming.
How to Collect Soil Samples Properly
Accurate testing starts with proper sampling.
Steps:
- Collect soil from multiple spots
- Dig 4–6 inches deep
- Mix samples together
- Remove debris (rocks, roots)
This ensures your results represent your entire garden.
How to Interpret Soil pH Test Results
Once you complete your soil pH test, it’s important to understand what the numbers mean.
Acidic Soil (pH 4.0–6.0)
- Ideal for:
- Blueberries
- Azaleas
- Rhododendrons
Neutral Soil (pH 6.0–7.0)
- Best for most plants
- Balanced nutrient availability
Alkaline Soil (pH 7.0–8.5)
- Common in dry regions
- May cause nutrient deficiencies
Matching Plants to Soil pH
Choosing plants based on your soil’s natural pH can save time and effort.
Acid-Loving Plants:
- Blueberries
- Hydrangeas
- Camellias
Neutral Soil Plants:
- Most vegetables
- Flowers
Alkaline-Tolerant Plants:
- Lavender
- Asparagus
What to Do After Testing Your Soil
Once you know your soil’s pH, you can take steps to adjust it.
👉 Once you know your pH, here’s how to make soil more acidic.
How Often Should You Test Soil pH?
Regular testing helps maintain healthy soil.
Recommended Frequency:
- Once per year (minimum)
- Before planting new crops
- After adding amendments
Common Mistakes When Testing Soil pH
Avoid these common errors:
Testing Only One Spot
Soil can vary across your garden.
Using Contaminated Tools
Clean tools ensure accurate results.
Ignoring Soil Moisture
Soil should be slightly damp—not too wet or dry.
Misreading Results
Always double-check color charts or digital readings.
Tips for Maintaining Balanced Soil pH
- Add organic matter regularly
- Avoid overusing fertilizers
- Monitor plant health
- Use mulch to stabilize soil
Turning Soil Knowledge Into Opportunity
Understanding soil pH isn’t just helpful—it can also become a valuable skill.
You can:
- Offer soil testing services
- Provide soil improvement solutions
- Start a gardening business
Knowing how to test and adjust soil pH gives you an edge in both gardening and business.
Pro Tips for Better Soil Testing Results
- Test at the same time each year
- Keep records of results
- Compare changes over time
- Combine testing with observation
Learning how to perform a soil pH test at home is one of the most powerful tools for improving your garden.
Whether you use DIY methods, test kits, or digital meters, understanding your soil’s acidity helps you make smarter decisions and grow healthier plants.
Once you know your soil’s pH, you can take targeted steps to improve it and create the ideal environment for your plants to thrive.
👉 Once you know your pH, here’s how to make soil more acidic.