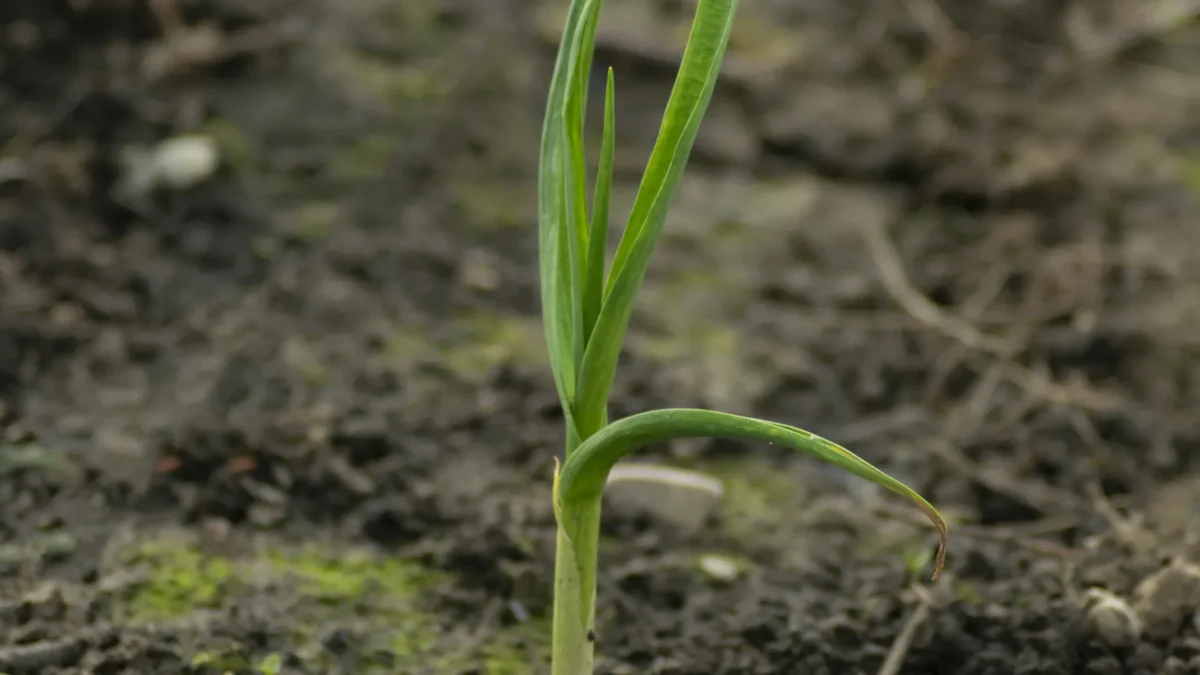
Garlic is one of the easiest vegetables to grow, and the one that rewards the most planning in fall. You plant individual cloves in autumn, they root before the soil freezes, rest through winter, and grow quickly in spring for a harvest the following summer. The work takes an afternoon. The mistakes that cost you bulb size, such as planting too late or using the wrong cloves, are easy to avoid once you know them.
This guide covers when to plant garlic, how to prepare the bed, how deep and how far apart to set the cloves, how to mulch, and when to harvest. The recommendations are based on guidance from university extension services including Penn State, the University of Minnesota and the University of Maryland.
Quick Answers
- When: fall, a few weeks before the ground freezes, so roots can form but shoots do not emerge.
- Depth: about 2 inches of soil over the tip of each clove, pointed end up.
- Spacing: roughly 4 to 6 inches apart in rows about 1.5 feet apart.
- Mulch: a thick layer, about 4 inches, of straw or shredded leaves after planting.
- Harvest: early to mid summer, when about half the leaves have turned brown.
When to Plant Garlic
Penn State Extension says fall is the best time to plant garlic, “a good three weeks prior to the ground freezing.” The University of Minnesota advises planting within about two weeks of the first frost, which in northern Minnesota means late September. The University of Maryland recommends mid to late October for the mid-Atlantic. The pattern is the same in each case: plant early enough for roots to develop, but not so early that green shoots emerge before winter.
In practice, many northern gardeners plant from late September into mid October, while gardeners in milder regions can plant later in the fall. If you are unsure, check your local first-frost date and count backward. Our fall planting calendar by zone and frost date can help you place garlic alongside the other crops that go in now.
Choose the Right Garlic
Hardneck vs. softneck
- Hardneck garlic is generally the better fit for colder climates. It sends up a flower stalk called a scape in early summer, which is edible and can be harvested, and it usually has larger cloves but a shorter storage life.
- Softneck garlic is the type commonly found in grocery stores. It produces no scapes, tends to give higher yields, and stores longer.
Buy seed garlic, not grocery garlic
Both Penn State and Minnesota extension specialists recommend avoiding grocery store bulbs. Supermarket garlic is often treated to extend shelf life and may not be suited to your climate or free of disease. Buy from a local farmers market, garden center or seed catalog, and choose the largest cloves, since big cloves tend to grow big bulbs.
Break the bulbs into individual cloves no more than a day before planting, so that the base of each clove, where roots form, does not dry out.
Prepare the Bed
Garlic needs full sun and well-drained, loamy soil with plenty of organic matter. It struggles in heavy clay and compacted ground, where cloves can rot over winter. Work finished compost into sandy or clay soil before planting. The University of Maryland notes that garlic has a high nutrient requirement and recommends fertilizing before fall planting, and a soil test can tell you whether you need extra phosphorus or potassium. If you make your own compost, see our beginner’s guide to composting at home.
How to Plant Garlic, Step by Step
- Loosen the soil to about 8 inches and mix in compost.
- Set each clove pointed end up, with the flat root end down.
- Plant about 2 inches deep. Penn State recommends at least 2 inches below the surface, and the University of Maryland suggests 1 to 2 inches of soil over the clove.
- Space cloves 4 to 6 inches apart. Extension sources give ranges from 3 to 8 inches. Closer spacing produces more, smaller bulbs; wider spacing produces fewer, larger ones.
- Leave about 1.5 feet between rows, or plant two rows in a 30-inch bed.
- Water in the cloves and keep the soil moist for a couple of weeks to encourage root growth.
- Mulch as described below.
Mulch for Winter
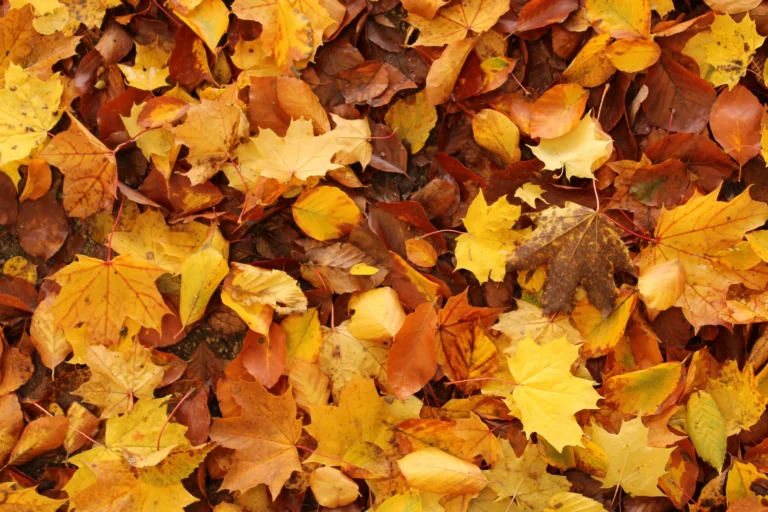
After planting, cover the bed with a thick layer of straw or shredded leaves. Penn State suggests about 4 inches, and Minnesota Extension recommends mulch until spring, especially in colder areas. The mulch insulates the cloves, moderates freezing and thawing, and suppresses weeds. Shredded fall leaves are a free option, and our piece on why skipping fall leaf cleanup can help your garden explains how leaves can be put to work. Some gardeners pull the mulch back slightly in early spring so the soil warms and shoots can push through.
Spring and Summer Care
- Spring growth: shoots appear as the soil warms. Keep the bed weeded, since garlic competes poorly with weeds.
- Watering: maintain even moisture during bulb development in late spring, then reduce water as the leaves begin to die back.
- Feeding: the University of Maryland suggests fertilizing in April and possibly again in late May for this heavy feeder.
- Scapes: if you grow hardneck, cut the scapes in early summer and cook with them.
When and How to Harvest
In Central Maryland, plant tops begin to die back in late June to early July, and the University of Maryland advises lifting bulbs when about half of the foliage has turned brown. Dig a few test bulbs, and harvest before the wrappers split or deteriorate. Loosen the soil with a spade or fork and lift gently to avoid bruising.
Cure and Store Your Garlic
Cure the bulbs for about two weeks in an airy, shady place until the wrappers are dry and papery. Then store them in a cool, dark, dry location. Maryland Extension reports that garlic typically keeps six to nine months in cool conditions around 32 to 38°F with moderate humidity, though softneck types generally store longer than hardnecks. For storage of garlic and other pantry produce, see our guide to storing vegetables and fresh produce.
Common Mistakes
- Planting too late, so roots do not establish before the ground freezes.
- Planting too early, so shoots emerge and are damaged by winter cold.
- Using grocery garlic, which may be treated or poorly adapted to your region.
- Planting upside down, which delays emergence and can reduce bulb size.
- Heavy, soggy soil, which causes rot. Improve drainage first.
- Skipping mulch in cold climates.
FAQ
Can I plant garlic in spring?
You can, but fall-planted garlic generally produces larger bulbs because the cloves get a cold period and a head start. Extension services recommend fall planting.
How deep should I plant garlic?
About 2 inches deep, with the pointed end up. Extension sources give 1 to 2 inches of soil cover as a working range.
How far apart do garlic cloves go?
Roughly 4 to 6 inches apart, though extension guidance spans 3 to 8 inches depending on the desired bulb size.
Do I need to mulch garlic?
In cold climates, yes. A layer of straw or shredded leaves, around 4 inches, protects the cloves through winter.
How long does garlic take to grow?
Garlic planted in the fall is typically harvested the following summer, usually around June to July in the mid-Atlantic, depending on your climate.
The Bottom Line
Plant seed garlic a few weeks before the ground freezes, set cloves pointed end up about 2 inches deep and 4 to 6 inches apart, and mulch generously. Do that this fall, and you will have homegrown garlic to harvest next summer. For another seasonal task to tackle in the same weekend, our fall lawn care checklist covers aeration and overseeding.
Sources: Penn State Extension, “Growing Garlic: Fall Planting”; University of Minnesota Extension, “Last chance to plant garlic”; University of Maryland Extension, “Growing Garlic in a Home Garden.” Timing varies by region, so check your local extension office for local guidance.