Sending voice messages has become an increasingly popular and convenient way to communicate, offering a more personal touch compared to text messages. Whether you want to express a quick thought or explain something in detail, a voice message can often get the message across faster and more clearly than a typed message. If you’re an iPhone user wondering how to send a voice message, you’re in the right place. Here’s a detailed, step-by-step guide to help you send audio messages on your iPhone with ease.
1. Ensure Your Settings Are Ready
Before you start sending voice messages, it’s important to check if your iPhone settings are configured to support audio messages. Here’s what you need to do:
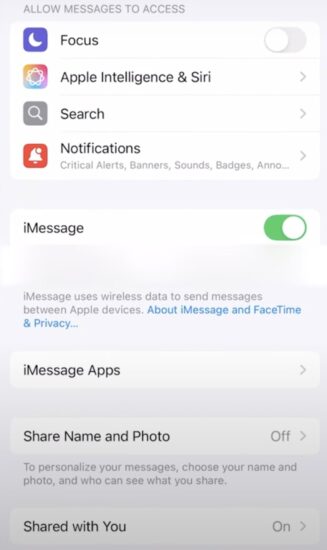
- Open Settings: Tap on the “Settings” app from your iPhone’s home screen.
- Enable iMessage: Scroll down and tap “Messages.” Ensure that “iMessage” is turned on. Without iMessage activated, you will not be able to send voice messages to other iPhone users.
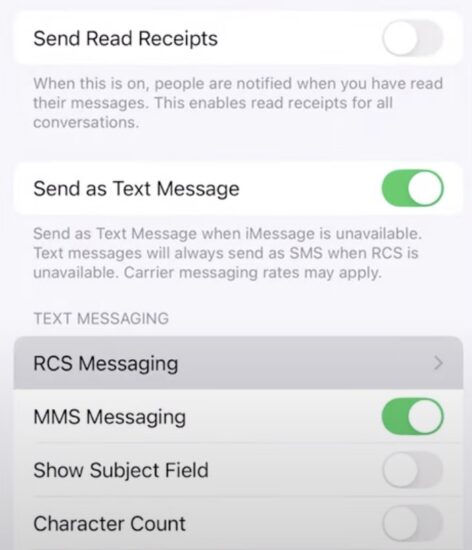
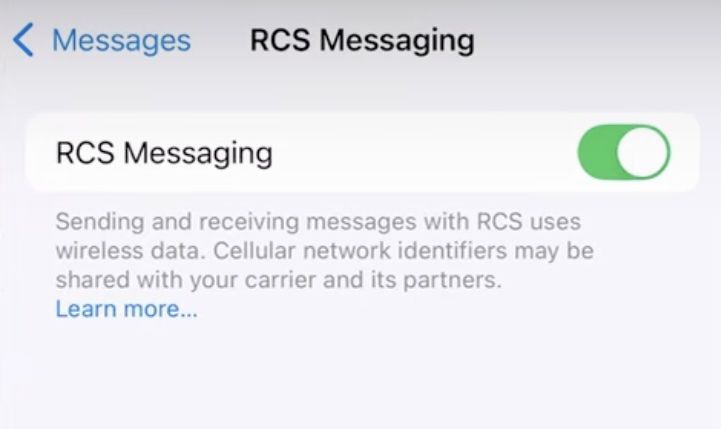
- Activate MMS & RCS Messaging: Scroll down further and ensure that MMS (Multimedia Messaging Service) and RCS (Rich Communication Services) messaging are enabled. These options are essential if you wish to send voice messages to Android users. They allow you to send multimedia content like voice recordings and videos.
2. Launch the Messages App
Once your settings are configured, open the Messages app on your iPhone. This is where you will compose and send your voice message.
3. Choose a Contact or Group
Select the conversation thread with the person or group you want to send the voice message to. If you don’t have an ongoing conversation, you can create a new one by tapping the pencil icon in the top-right corner of the screen.
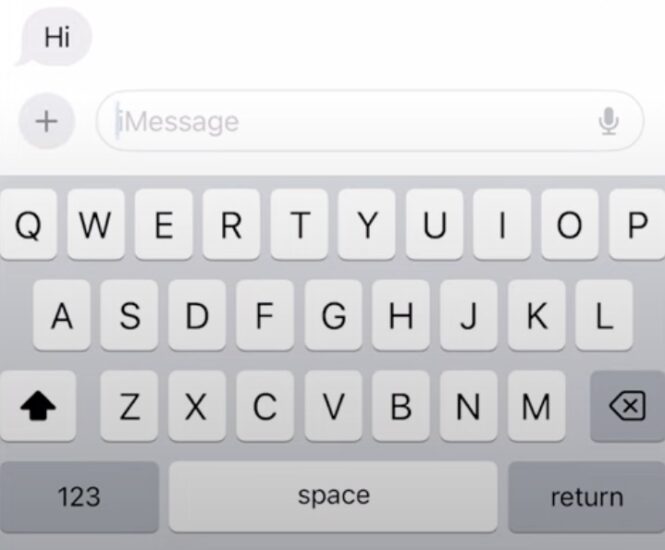
4. Locate the Microphone Icon
In the text message box at the bottom of your screen, you will notice a microphone icon. However, don’t be fooled by it! If you tap on the microphone, it will only transcribe your voice into text (a feature known as “Voice-to-Text”). This is great for typing out messages quickly, but if you want to send an actual audio message, you’ll need to follow a different route.
5. Tap the “+” Button and Select “Audio”
Right next to the blank text input field, you’ll see a small “+” button. Tap this icon to open additional options.
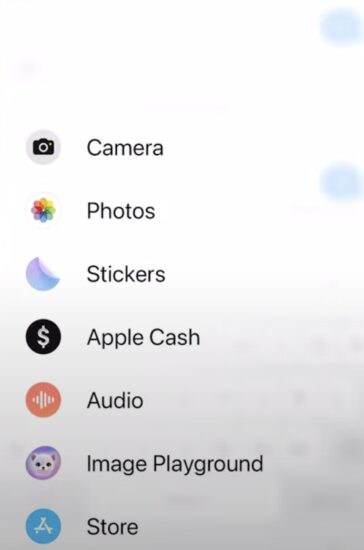
- From the menu that appears, select “Audio” (or “Audio Message”, depending on your iPhone’s version). This will trigger a recording interface.
6. Record Your Message
Once you tap on “Audio,” you will see a red record button appear on the screen. This is the moment to start speaking and record your message.
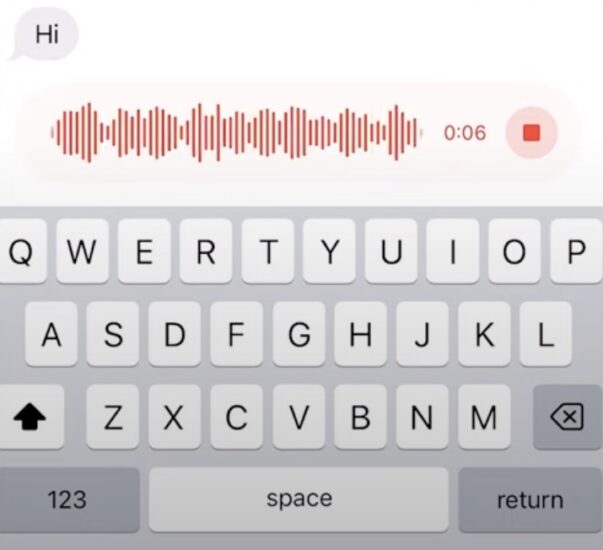
- Start speaking clearly, and the iPhone will capture your voice in real-time. You will see the red button filling up as you speak.
- If you need to stop the recording, tap the red button again.
7. Review and Send Your Voice Message
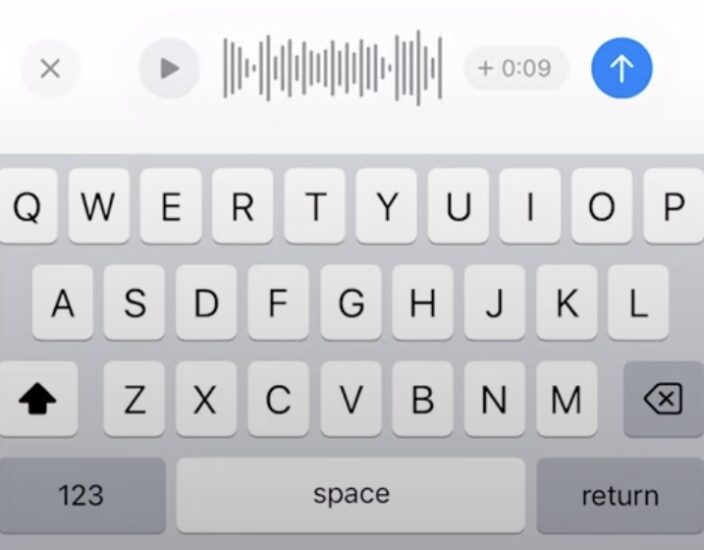
After recording your voice message, you can preview it to make sure it sounds just right.
- Play it back by tapping the play button.
- If you’re satisfied with the message, tap the blue send arrow (on the right side) to send it.
- If you’re not happy with it, you can simply tap the X and re-record your message.
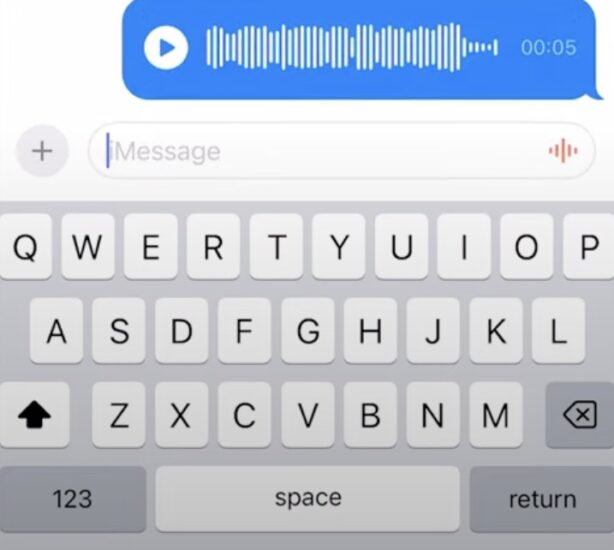
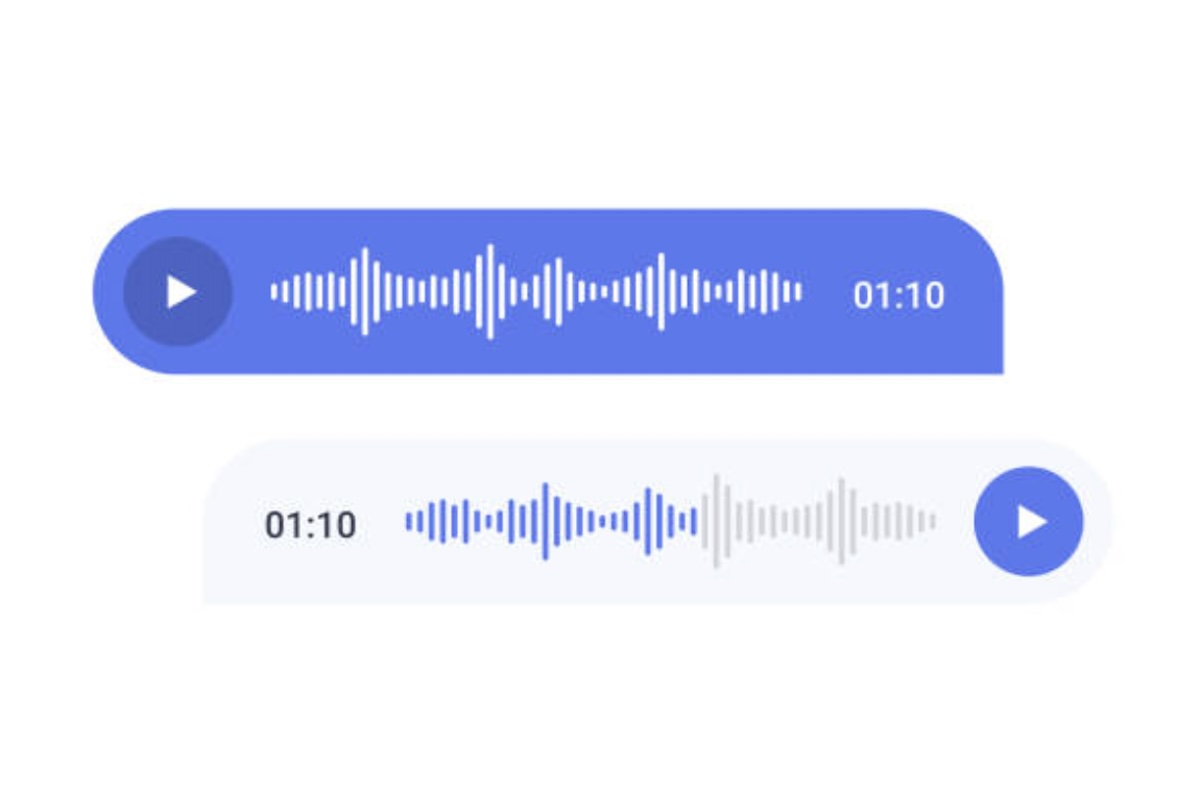
8. Transcription and Playback
One of the coolest features of sending voice messages on iPhone is that your iPhone will automatically transcribe your voice message into text. This makes it easier for the recipient to read what you said, even if they can’t listen to the message at the moment.
- The transcription will appear just below your voice message.
- The recipient can tap the play button to listen to the audio message at any time.
9. Manage Your Voice Messages
Once you’ve sent the message, you have a few options to manage it:
- Save the message: You can keep the audio message on your phone by simply leaving it in the conversation.
- Delete the message: If you no longer need the message, you can swipe left on it to delete it.
Additionally, if you want to keep the voice message but want to store it elsewhere, you can save it as an audio file and share it with other apps or services.
Why Voice Messages Are So Useful
Sending a voice message is an excellent alternative to texting for many reasons:
- Personalized Communication: Voice messages convey tone and emotion, making the conversation more engaging.
- Convenience: If you’re unable to type or need to send a long message, voice messages are faster and more efficient.
- Accessibility: People who have difficulty typing or reading text messages will find voice messages more accessible.
Send Your Voice Message Through iPhone Now
Now you know how to send a voice message on your iPhone! Whether you’re sending a quick update, telling a funny story, or responding to a question, voice messages are a fantastic way to communicate on the go. By following these simple steps, you’ll be able to send voice messages with ease, enjoy real-time transcriptions, and enhance your messaging experience.
Next time you need to send a message that’s better heard than read, simply follow the steps above, and your voice will do the talking!