Solar Panel Installation: The Ultimate Beginner Guide
Solar panel installation is one of the smartest investments you can make to reduce electricity bills and gain energy independence. Whether you’re planning a grid-tied system or a fully off-grid setup, understanding how the components work together is essential.
This guide breaks down solar panel installation into simple steps—so you can confidently plan, design, and understand your own system.
Solar panel installation is one of the most effective sustainable energy practices for reducing your carbon footprint.
Understanding the Core Components
Before starting any solar panel installation, you need to understand the five essential parts of a solar energy system:
- Solar Panels – Capture sunlight and generate electricity
- Inverter – Converts DC power into usable AC power
- Safety Devices – Protect and control the system
- Batteries – Store energy for later use (optional for grid systems)
- Wiring & Connectors – Link everything together
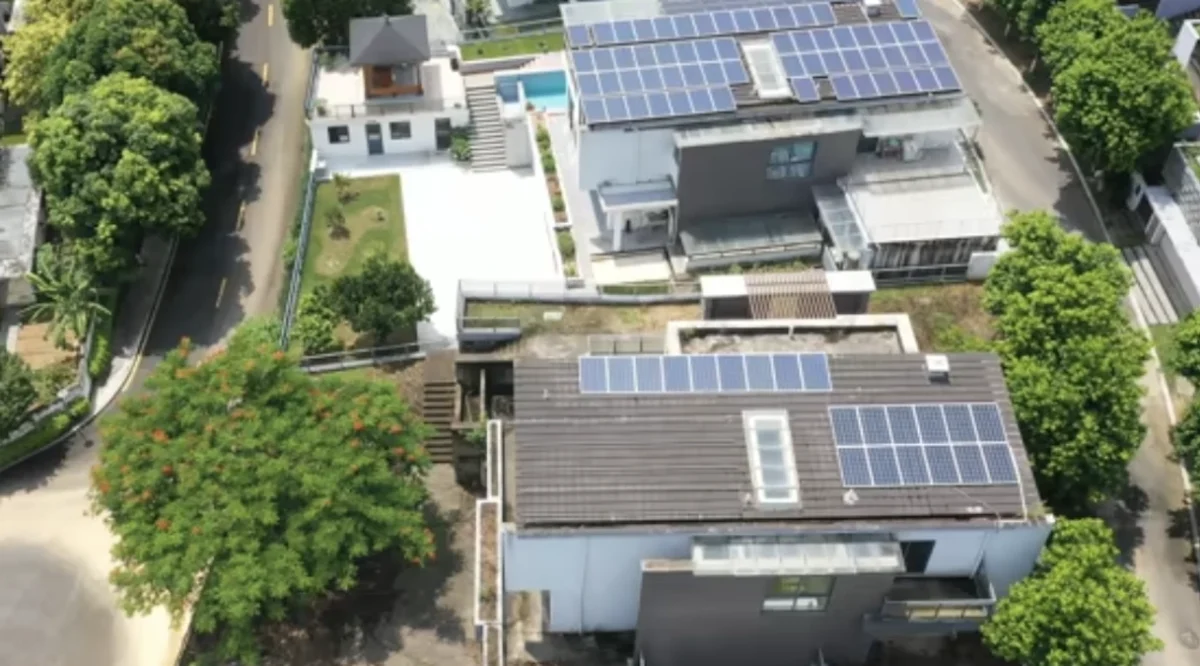
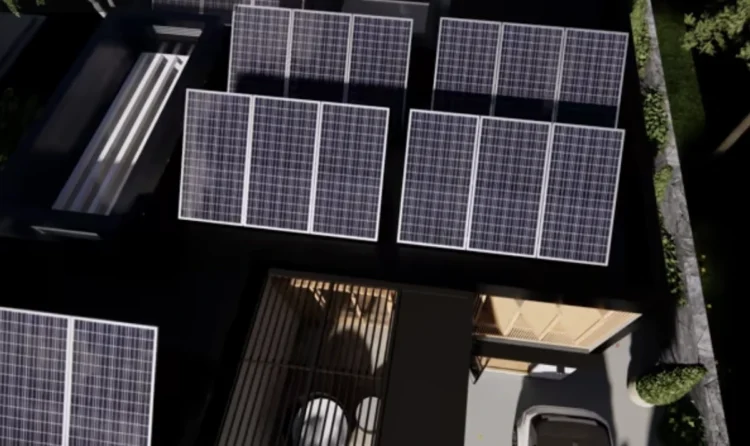
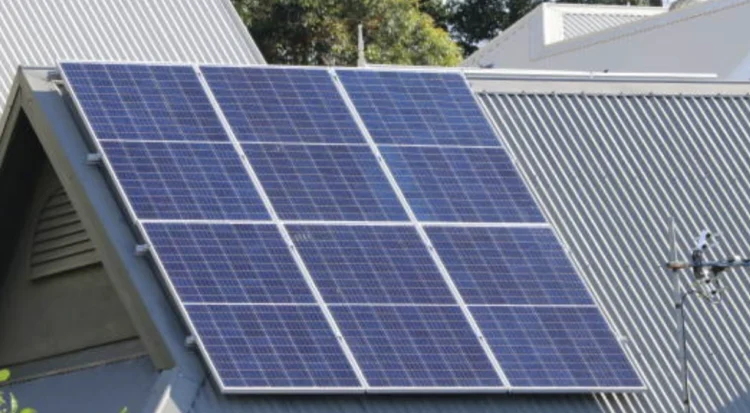
Step 1: Choosing the Right Solar Panels
Solar panels are the heart of any solar panel installation.
Key Factors to Consider:
- Wattage Output: Higher wattage = more power per panel
- Efficiency: Important if you have limited roof space
- Voltage Rating: Must match your system design
Types of Solar Panels:
- Standard Panels – Best for residential rooftops
- Portable Panels – Ideal for small or mobile setups
- Bifacial Panels – Capture sunlight from both sides for higher efficiency
Tip: If your installation area is small, invest in high-efficiency panels to maximize output.
If you’re looking for smaller setups, consider portable solar chargers that are perfect for camping and low-power needs.
Step 2: Installing the Inverter
The inverter is what makes solar power usable in your home.
Types of Inverters:
1. Microinverters
- Installed on each panel
- Better performance with shading
- Easier system expansion
2. String Inverters
- Centralized unit
- More affordable
- Performance depends on weakest panel
3. Hybrid Systems
- Combine both for flexibility
Important: Some inverters require batteries, especially for off-grid systems.
Step 3: Series vs Parallel Wiring Explained
Understanding wiring is critical for safe solar panel installation.
Series Wiring:
- Increases voltage
- Current stays the same
- Used when higher voltage is required
Parallel Wiring:
- Increases current (amps)
- Voltage stays the same
- Improves reliability if one panel underperforms
Pro Tip: Most systems use a combination of both to meet inverter requirements.
Step 4: Safety Devices and Switches
Safety should never be overlooked in solar panel installation.
Essential Components:
- PV combiner box
- Circuit breakers
- Fuses
- AC/DC disconnect switches
Why They Matter:
- Allow safe maintenance
- Prevent overload and electrical damage
Best Practice: Always include more protection points than the minimum required.
Step 5: Calculating Your Energy Needs
Before starting your solar panel installation, it’s smart to use a solar panel cost calculator to estimate your total investment and long-term savings.
Simple Analogy:
- Solar panels = water collection
- Battery = storage tank
- Inverter = pump
Ask Yourself:
- How much electricity do you use daily?
- Do you need backup during outages?
- Are you going off-grid?
Step 6: Battery Storage (Optional or Essential)
Batteries store excess energy for later use.
When You Need Batteries:
- Off-grid systems (required)
- Backup power (recommended)
- Grid-tied systems (optional)
Key Battery Specs:
- Voltage (12V, 24V, etc.)
- Capacity (Ah or kWh)
- Lifespan and efficiency
Batteries can be connected:
- In series → increase voltage
- In parallel → increase storage capacity
For flexible energy storage, many homeowners also consider portable power stations as an alternative to traditional battery systems.
Step 7: Wiring and Connectors
Proper wiring ensures efficiency and safety.
Solar Wiring:
- Use outdoor-rated cables
- Use conduit (THHN/THWN wires) when needed
- MC4 connectors are industry standard
Battery Wiring:
- Requires thicker cables (high current)
- Use copper lugs and proper crimping tools
Warning: Undersized wires can cause overheating and energy loss.
Step 8: System Layout (Visual Diagram)
Here’s a simplified diagram of how a solar panel installation is connected:
        SUNLIGHT
            ↓
     [ Solar Panels ]
            ↓
   (DC Power Output)
            ↓
   [ PV Combiner Box ]
            ↓
        [ Inverter ]
            ↓
     (AC Power Output)
            ↓
   ┌───────────────┐
   │               │
[ Batteries ]   [ Main Panel ]
   │               │
   └──────┬────────┘
          ↓
     Home Appliances
Grid-Tied Variation:
Inverter → AC Disconnect → Main Panel → Utility Meter ↔ Power Grid
Off-Grid vs Grid-Tied Installation
Off-Grid System:
- Fully independent
- Requires batteries
- Ideal for remote locations
Grid-Tied System:
- Connected to utility grid
- Lower cost
- Can send excess power back to grid
Step 9: Final Installation & Testing
Once everything is installed:
- Double-check all connections
- Turn on system gradually
- Monitor performance
- Ensure compliance with local codes
Always have a licensed electrician inspect your system.
Should You DIY or Hire a Professional?
DIY Installation:
- Lower cost
- Full control
- Requires technical knowledge
Understanding solar tax credits and incentives can significantly reduce your upfront installation costs.
Professional Installation:
- Faster and safer
- Warranty and support
- Easier permitting process
Solar panel installation doesn’t have to be complicated. By understanding each component and how they work together, you can design a system that meets your energy needs efficiently and safely.
Whether you go DIY or hire a professional, switching to solar power is a long-term investment that pays off in savings, sustainability, and energy independence.