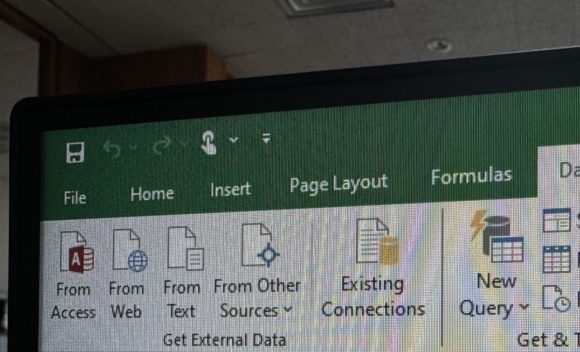
To remove duplicates in Excel, you can use the built-in “Remove Duplicates” feature. Here’s how:
- Select the range: First, select the range of cells or columns where you want to remove duplicates.
- Go to the Data tab: Navigate to the “Data” tab on the Excel ribbon.
- Click on Remove Duplicates: In the “Data Tools” group, you’ll find the “Remove Duplicates” button. Click on it.
- Choose columns: If your selection includes headers, make sure the “My data has headers” option is checked if applicable. Then, select the columns where you want to remove duplicates. You can select one or multiple columns.
- Click OK: Once you’ve selected the columns, click “OK”.
Excel will then remove any duplicate values based on the selected columns and keep only unique values. It’s important to note that Excel removes duplicates based on the entire row, not just individual cells. So if the entire row is identical to another, Excel will remove it as a duplicate.


