Learning how to remove a page break in Word is essential for anyone who works with documents regularly. Page breaks can appear intentionally or by accident, and when they disrupt your layout, they can be frustrating to fix—especially for beginners.
In this guide, you’ll learn exact methods to remove page breaks in Microsoft Word, whether you’re using Windows, Mac, or Word Online. Each method is simple, effective, and works across modern Word versions.
What Is a Page Break in Microsoft Word?
A page break is a formatting mark that forces text to start on a new page. Microsoft Word uses two main types of page breaks:
- Manual page breaks – Inserted by users using keyboard shortcuts
- Automatic page breaks – Added by Word when text reaches the bottom margin
Understanding the difference is crucial when learning how to remove a page break in Word, because only manual page breaks can be deleted directly.
How to Remove a Page Break in Word Using Show/Hide
This is the most reliable and beginner-friendly method.
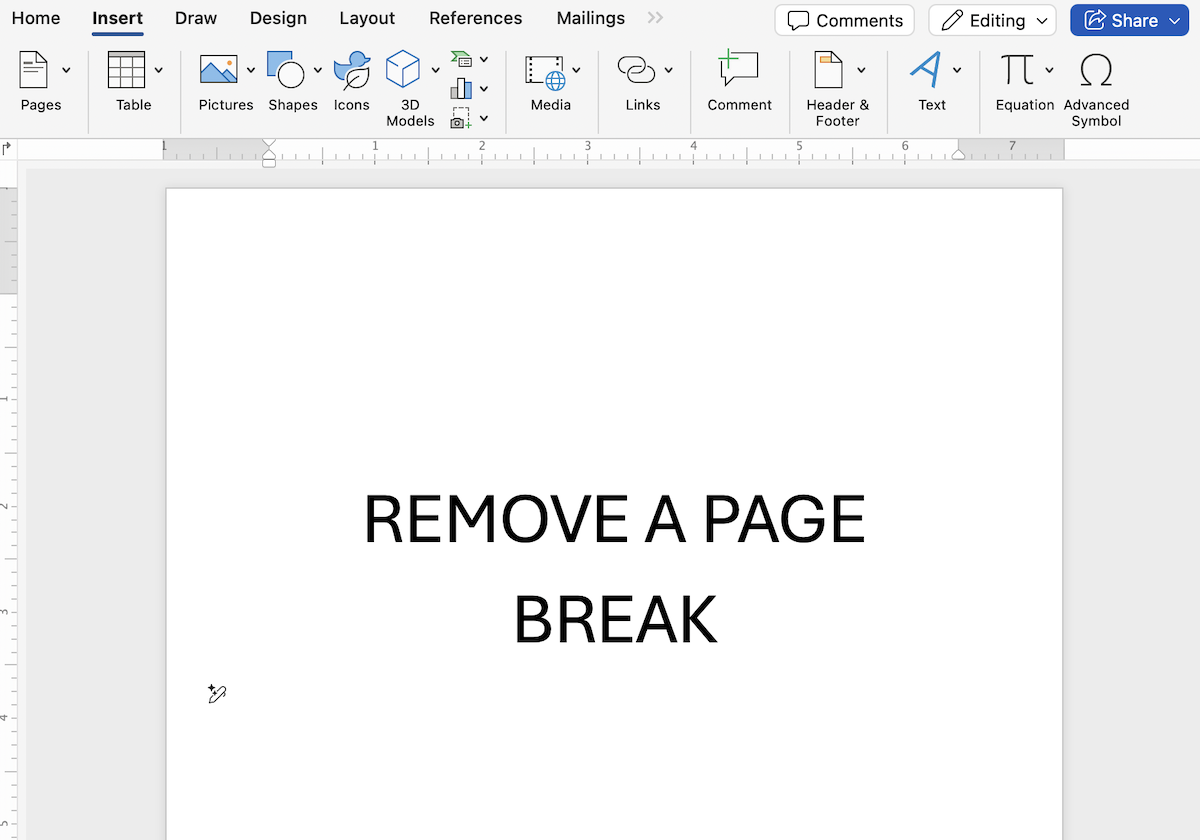
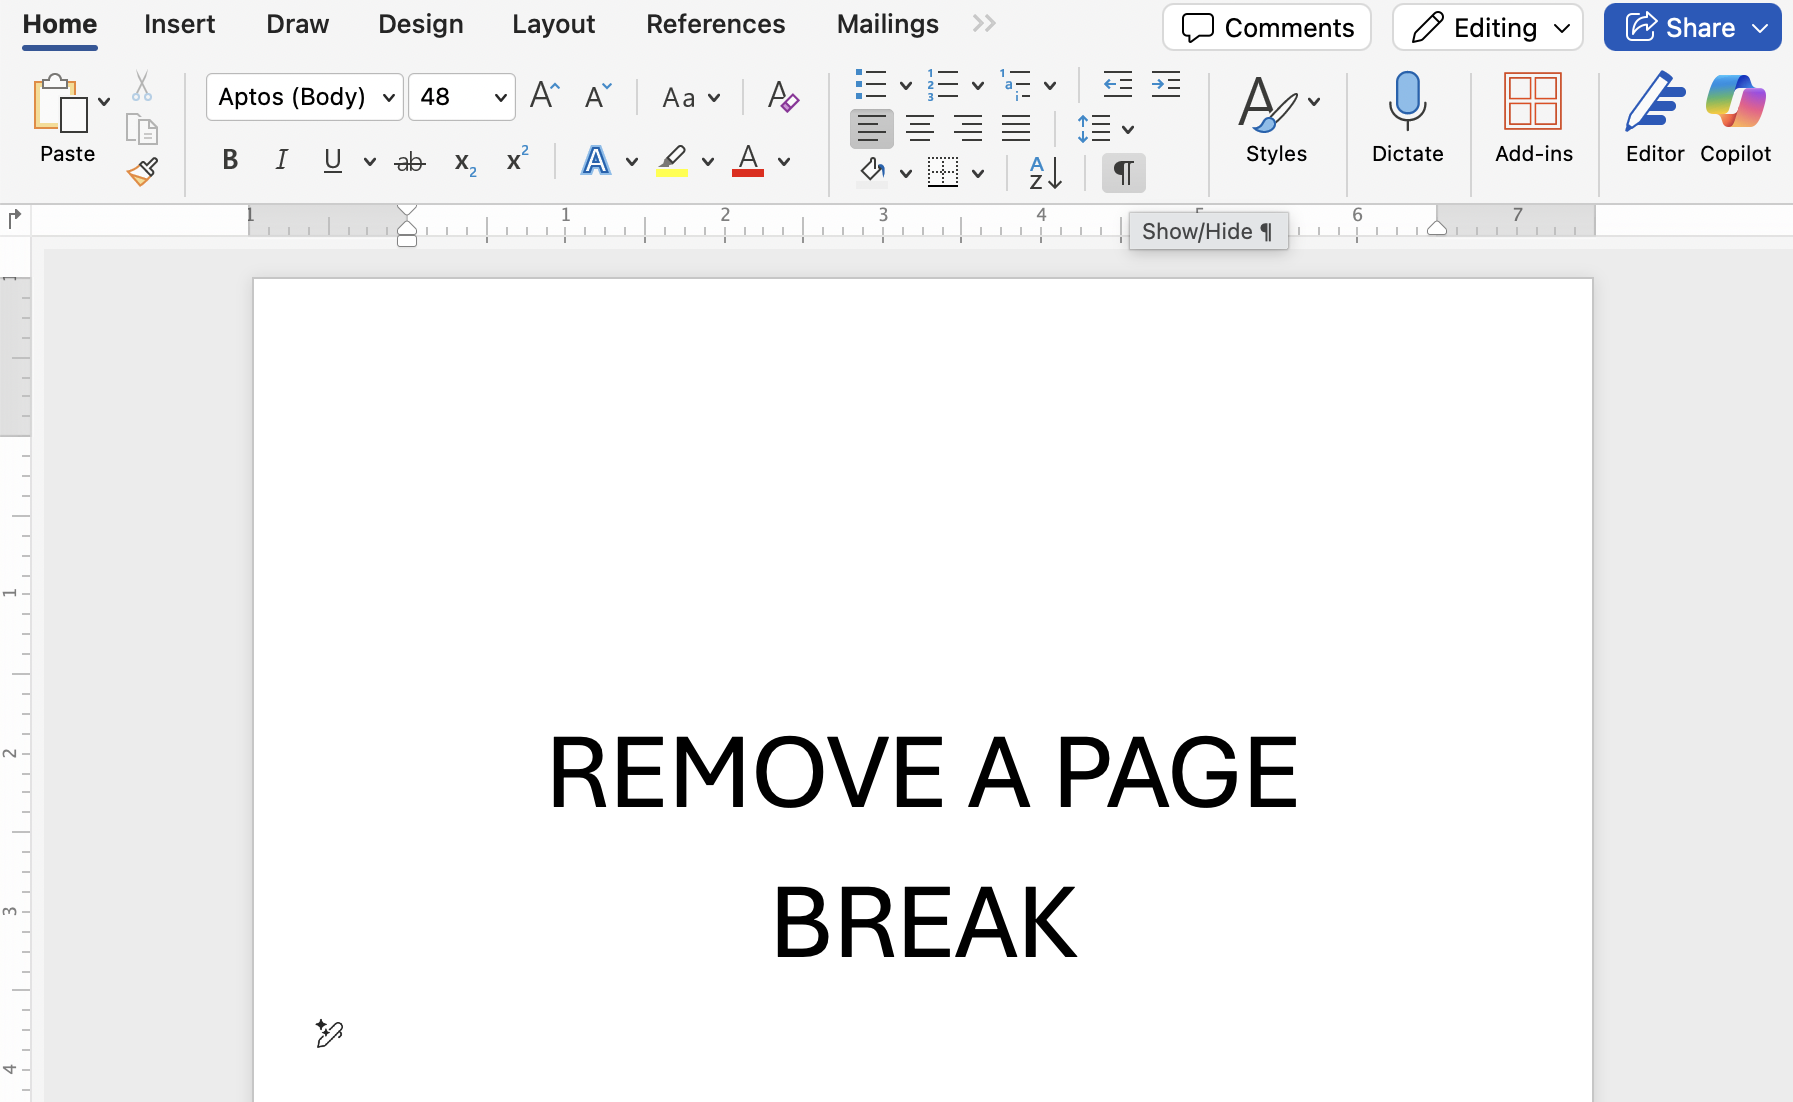
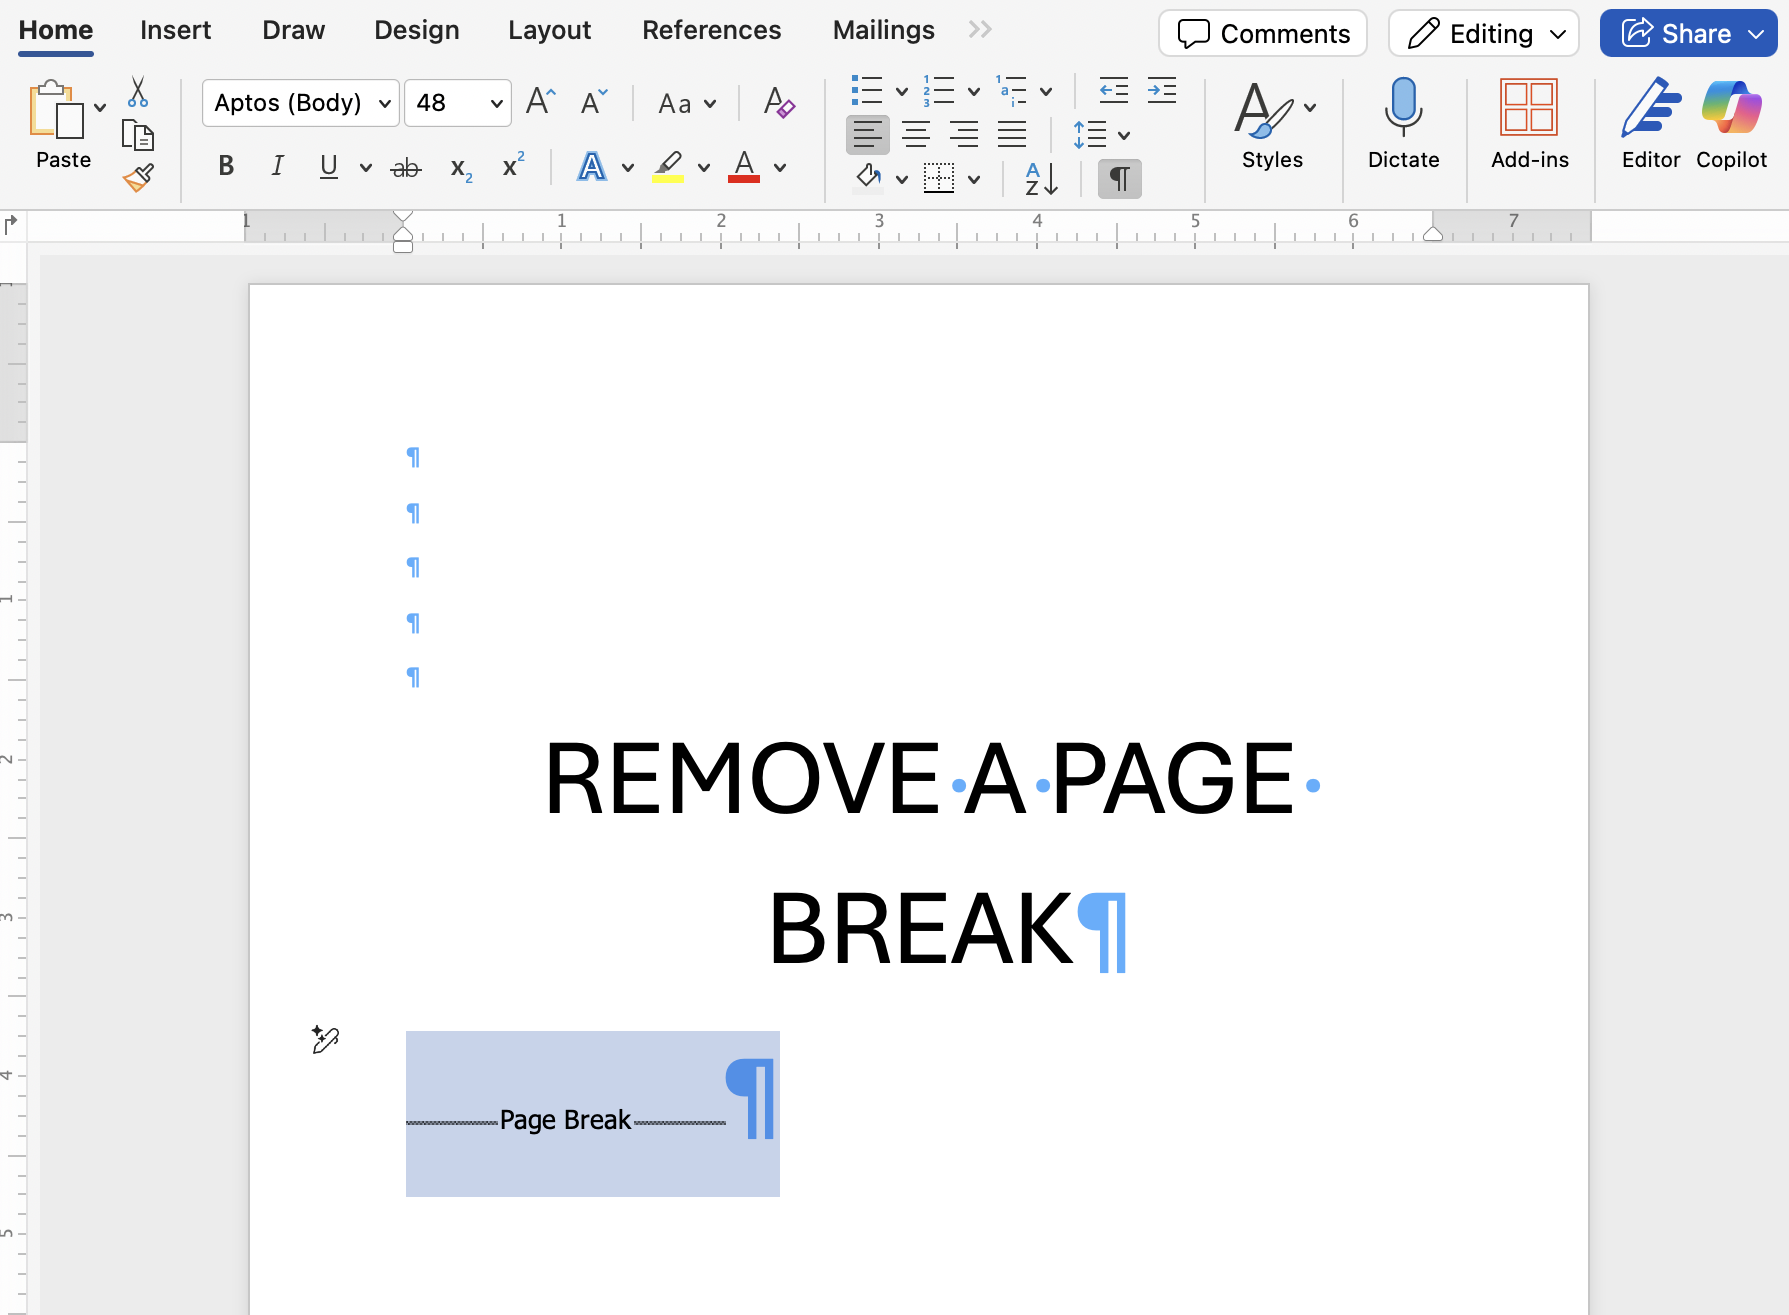
Step 1: Open your Word document and enable Show/Hide (¶) to display formatting marks.
Step-by-Step Instructions:
- Open your Word document
- Go to the Home tab
- Click the ¶ Show/Hide button
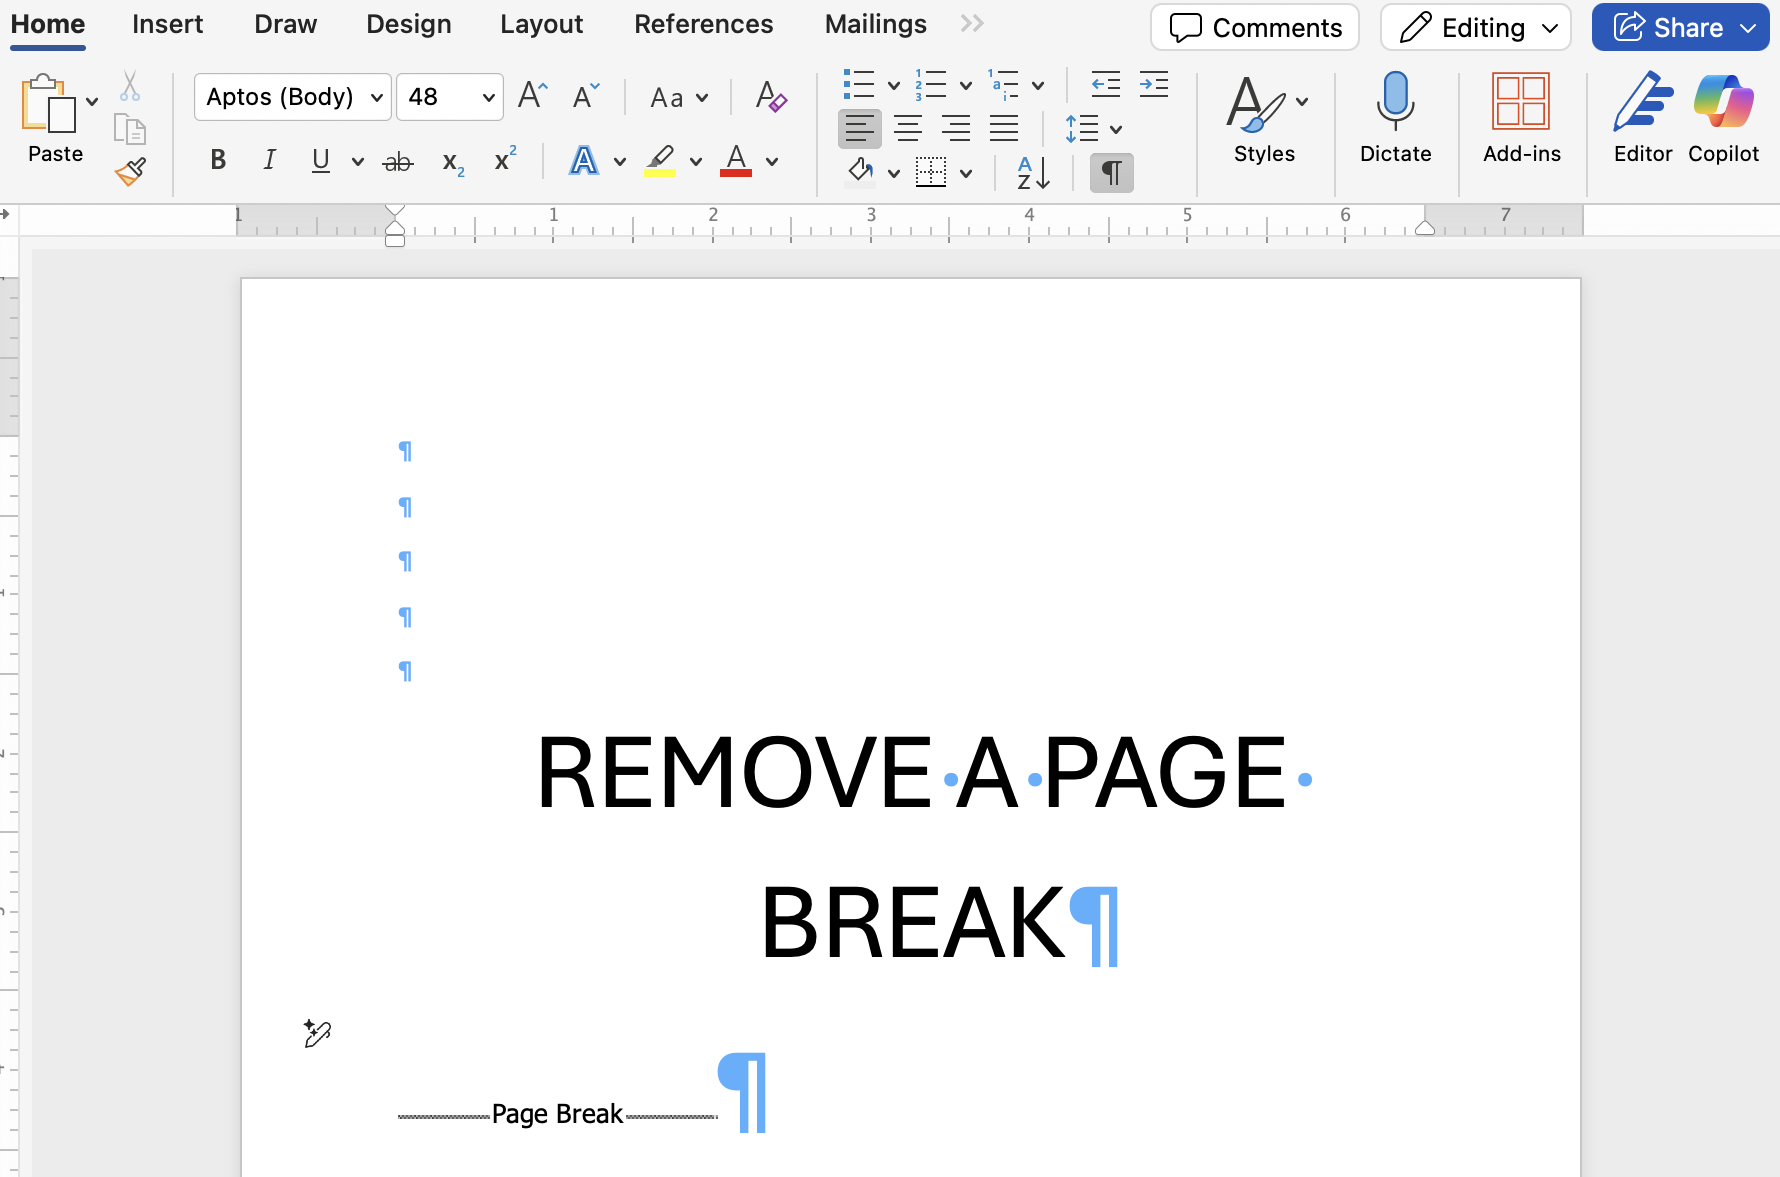
- Look for the label Page Break
- Click directly before the page break
- Press Delete or Backspace
Once removed, your text will flow naturally onto the previous page.
How to Remove a Page Break in Word Using Keyboard Shortcuts
If you inserted the page break manually, keyboard shortcuts work fast.
Common Shortcut:
- Windows:
Ctrl + Shift + 8(to show formatting marks) - Mac:
Command + 8
After the page break appears, select it and press Delete.
This shortcut method is popular for users searching on how to remove a page break in Word quickly.
Removing a Page Break in Word Caused by Paragraph Settings
Sometimes, a page break is caused by hidden formatting rules rather than an actual break.
How to Fix It:
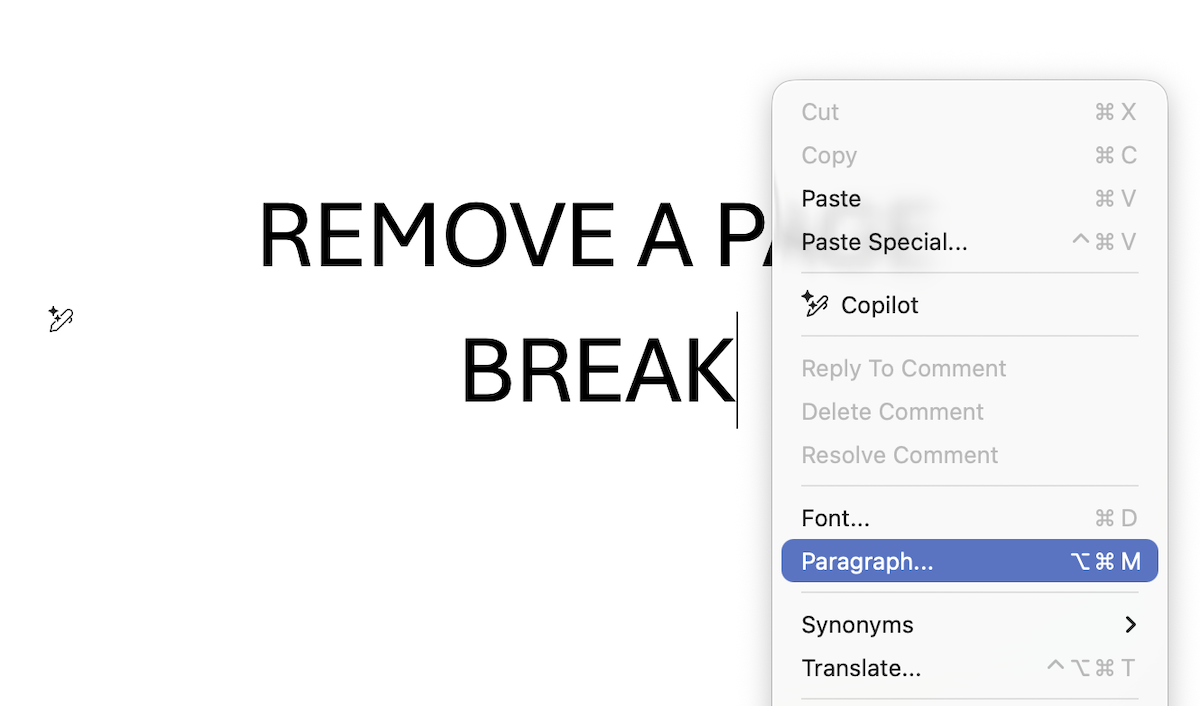
Step 1: Select the paragraph just before the unwanted page break.
- Select the paragraph before the break
- Right-click and choose Paragraph
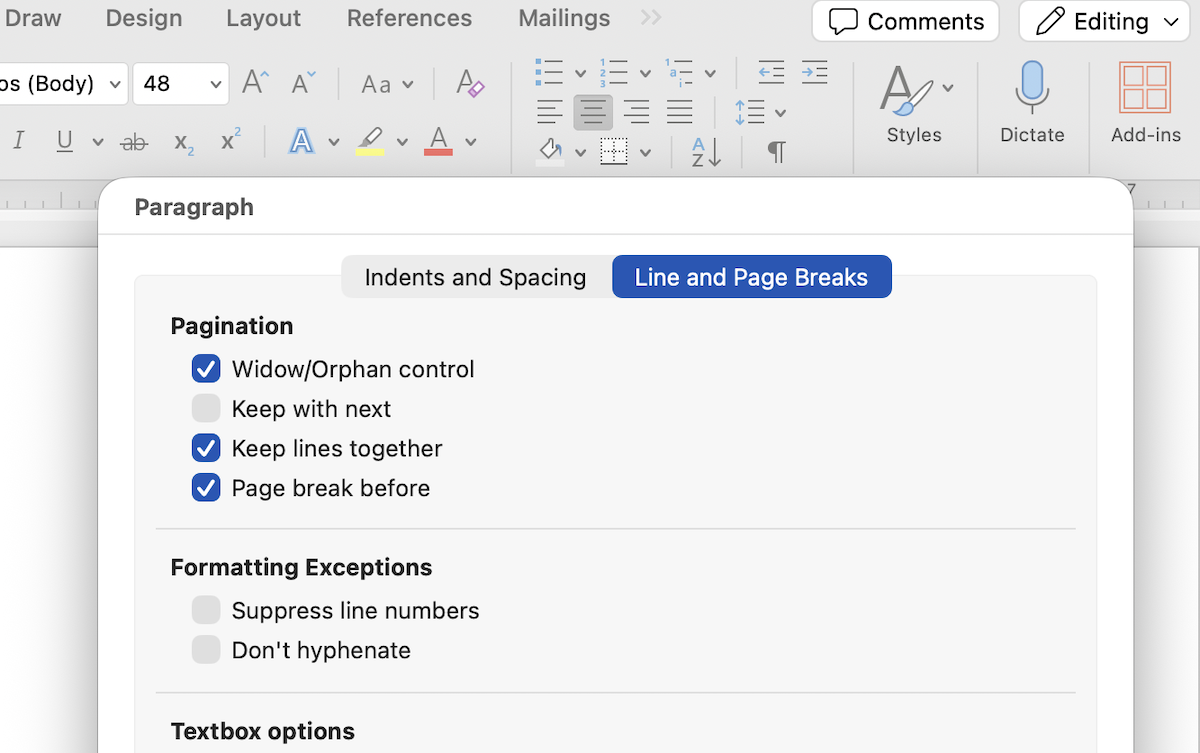
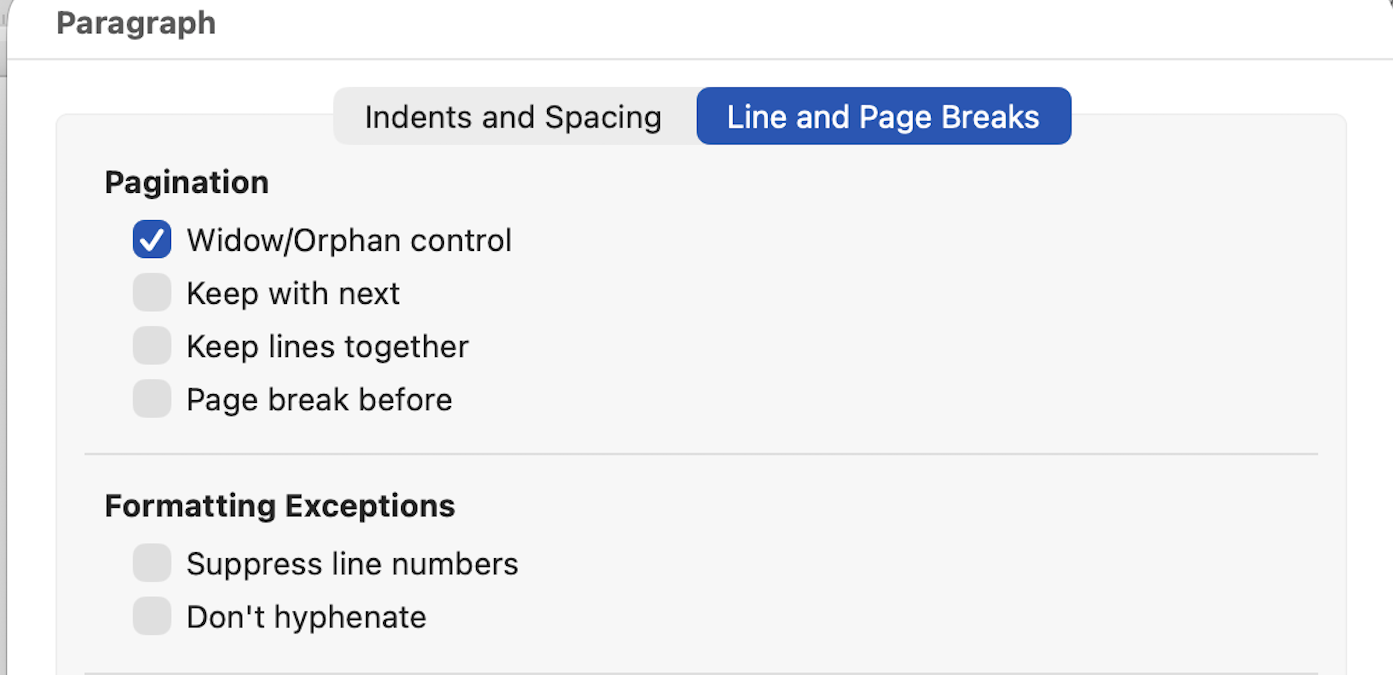
- Open the Line and Page Breaks tab
- Uncheck:
- Page break before
- Keep with next
- Keep lines together
- Click OK
This method is essential when users think they can’t remove a page break in Word but the break isn’t visible.
How to Remove a Page Break in Word Online
Word Online handles page breaks differently.
Steps:
- Switch to Editing Mode
- Click View > Editing View
- Place the cursor where the page starts
- Press Backspace until the page merges
Note: Word Online does not display manual page break labels, so careful cursor placement is key.
Why Can’t I Remove a Page Break in Word?
If you’re struggling, one of these issues is likely the cause:
- The break is automatic (cannot be deleted)
- Paragraph formatting forces a new page
- Section breaks are mistaken for page breaks
- The document is in Print Layout view
Switching to Draft View often helps identify the problem quickly.
Page Break vs Section Break: Know the Difference
Many users confuse page breaks with section breaks.
| Feature | Page Break | Section Break |
|---|---|---|
| Purpose | New page | New layout section |
| Can be deleted | Yes | Yes (with caution) |
| Affects headers | No | Yes |
If you’re learning how to remove a page break in Word, make sure you’re not accidentally deleting a section break.
Best Practices to Avoid Unwanted Page Breaks
- Use paragraph spacing instead of manual page breaks
- Avoid excessive Enter key presses
- Check formatting before copying text
- Use styles consistently
These habits reduce formatting errors and keep documents clean.
Remove a Page Break in Word
Understanding how to remove a page break in Word saves time and prevents formatting headaches. Whether the break is manual, hidden in paragraph settings, or caused by layout rules, Microsoft Word provides clear ways to fix it.
By following the steps above, you can confidently remove page breaks and keep your documents looking professional.