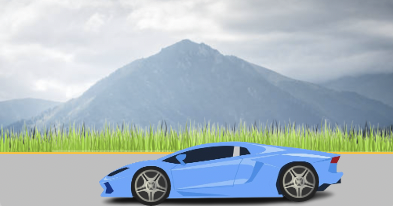
Creating a short animation with PowerPoint might not be as difficult as you think. With the right guide—like this post—you can easily create your first short animation. The easiest way is to follow existing steps first, and you can modify them as you like. For your first practice, let’s create a short animation of a sports car driving on a road with a mountain view.
Let’s use above short animation as practice.
Understanding Layers in PowerPoint Animation
The first thing to understand about creating short animations in PowerPoint is layers. Proper layer placement is crucial for smooth animation and efficient workflow. Let’s go through an example:
Layer 1: Background (Mountains)
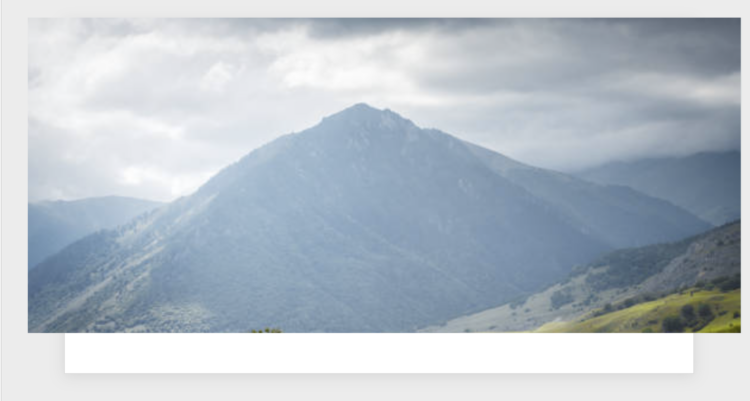
Find a royalty-free mountain image to use as the background and set it as your slide’s background. Insert Image of the mountain into the power point.
Layer 2: Trees and Grass
Search for royalty-free vector images of trees and grass.
Insert Image of the tree and grass into the power point.
Position the trees and grass on the far left, outside the frame.
Use four types of trees and one type of green grass.
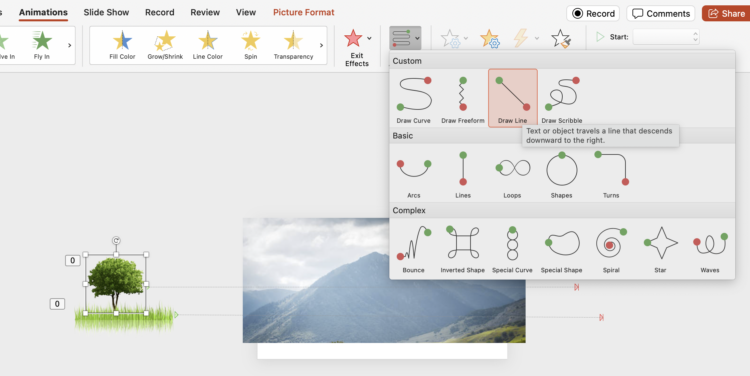
Apply Path Animation → Draw Line, setting the movement from left to right, ensuring the final position is outside the frame.
Layer 3: Clouds
Find royalty-free cloud vector images and remove the background.
Insert Image of the cloud into the power point.
Place them outside the frame (far left).
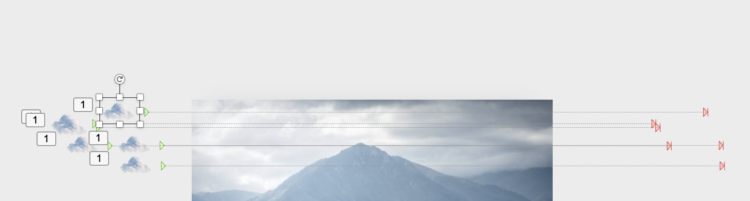
Apply Path Animation → Draw Line, moving them from left to right for a smooth motion.
Repeat this for as many clouds as you want.
Layer 4: Foreground Grass
Use two types of grass: black shadow grass and green grass (same as Layer 2).
Find royalty-free vector grass images. Insert Image of the grass into the power point.
If the image has a background, use an online background remover tool.
Layer 5: Road (Asphalt)
Click Insert → Shape → Rectangle.

Set the color: Solid Fill (Gray), Outline (Orange, Width: 6).
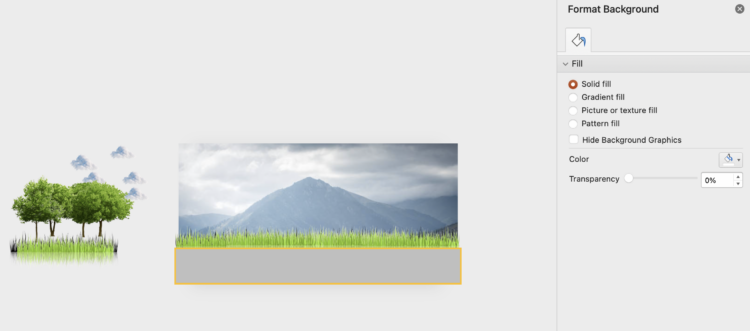
Position it at the bottom edge of the grass.
Layer 6: White Road Lines

Click Insert → Shape → Line.
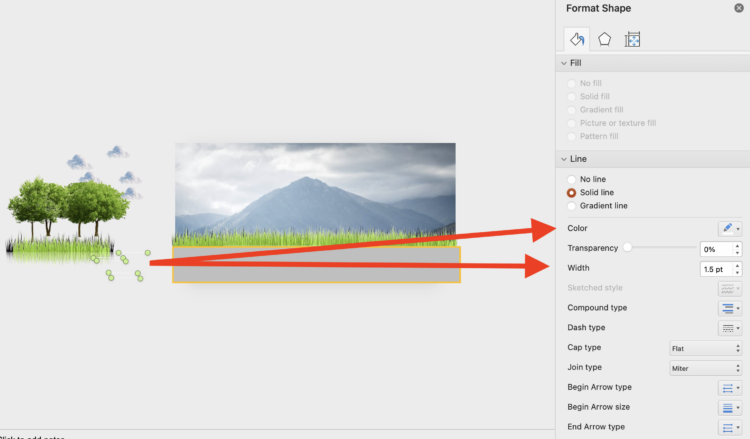
Set the width to 1.5 and place multiple white lines.
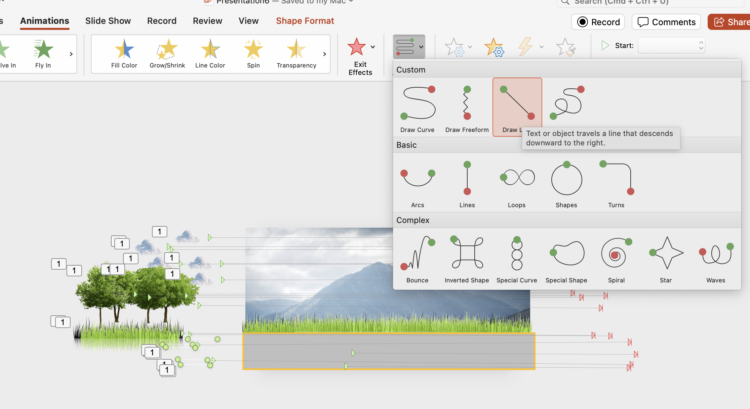
Apply the same animation as the other moving elements.
Layer 7: Sports Car
- Find a royalty-free 2D vector image of a sports car.

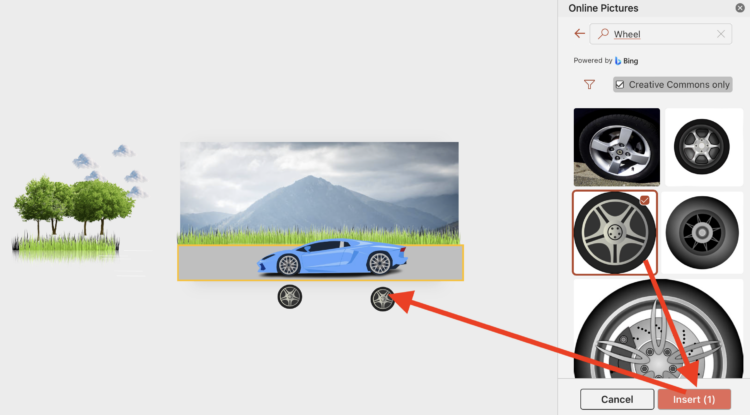
- Add matching wheels:
- Click Insert → Pictures → Online Pictures → Search for “Wheel.”
- Insert and resize them to fit the car.
- Copy-paste to create two wheels.
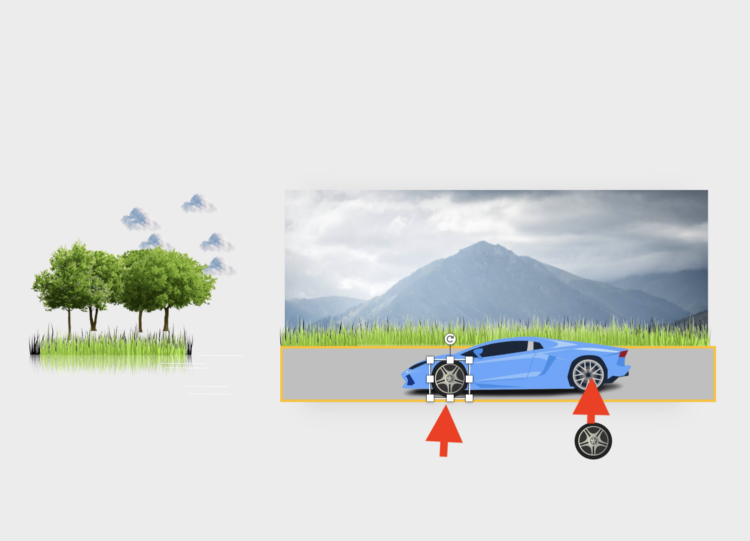
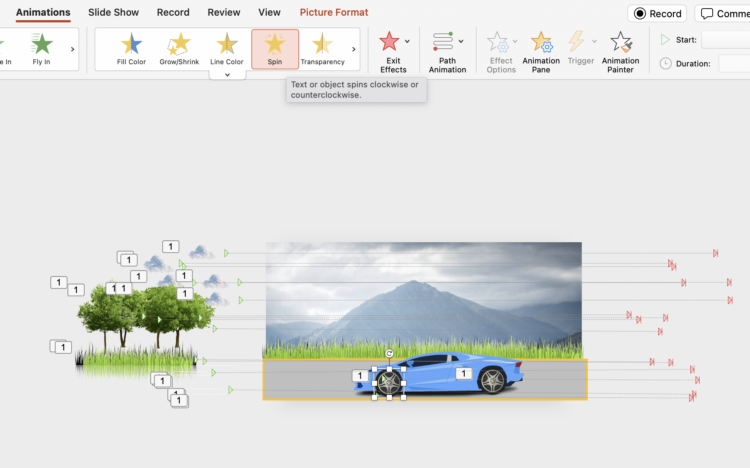
- Apply a Spin Animation to the wheels for a realistic rolling effect. Click ‘animation’, select ‘spin’.
Special Animation Effects
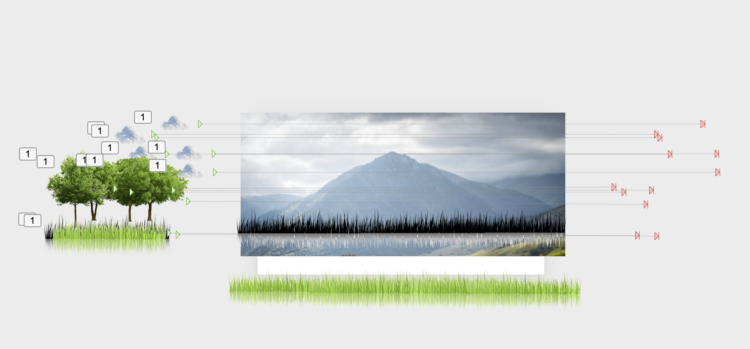
Open Animation Panel to check all animations.
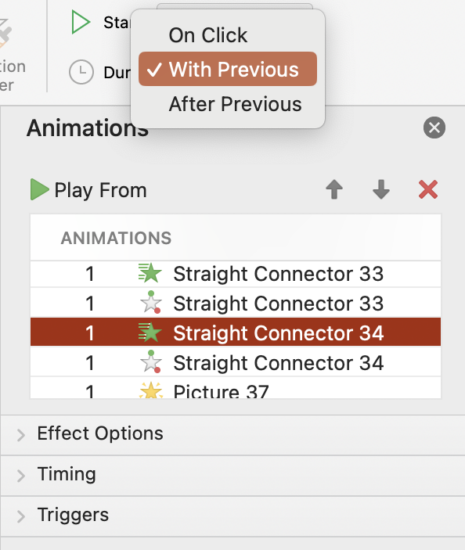
Ensure all animations have the number 1, meaning they start simultaneously when activated.
Fix incorrect animation orders using “With Previous” in the Timing menu.
Animation Timing Settings
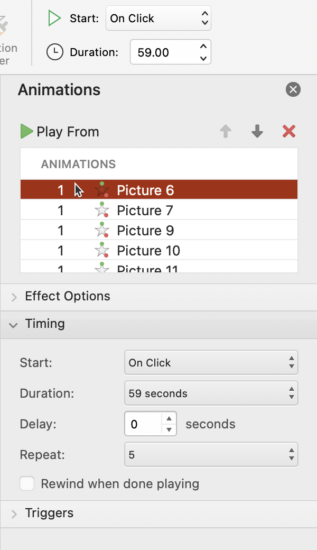
Cloud animation trigger: Starts “On Click” (for the first element).
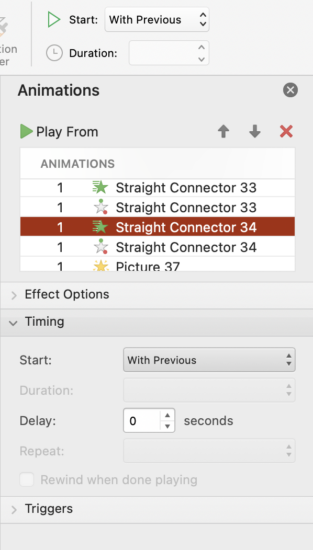
Other animations: Set to “With Previous” to run automatically.
Duration: Set to 59 seconds (maximum) for smooth movement. Adjust to control speed.
Repeat Animation:
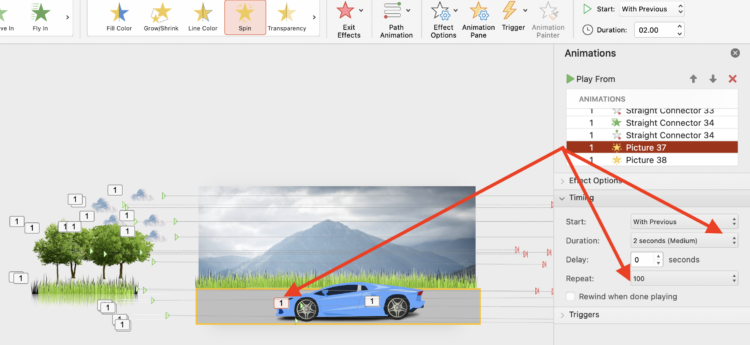
Enables looping motion, useful for clouds, trees, road lines, and wheel rotation.
Set wheels to spin for 2 seconds, repeating 100 times for continuous motion.
And that’s how you create a simple animation using PowerPoint! Hopefully, this guide inspires you. Don’t forget to share it on your social media! 🚗💨